Introduction
The V-Key Smart Authenticator app provides a multi-factor authentication solution based on the V-OS Cloud services and is uniquely protected by the V-OS virtual secure element. Replace inconvenient and costly hardware solutions and insecure SMS OTPs with a single mobile authenticator customizable to your business look and feel. Offers easy-to-use password-less access to your systems, VPN, or applications like MS Office 365 at a single touch of a button.
This User Guide provides the basic information for installing and using the V-Key Smart Authenticator on both Android and iOS platforms.
Prerequisites
You will need to have an Activation Code to begin. This can be in the form of a QR Code or plain text string, either of which you will need to have ready before you can use the Smart Authenticator. If you are a first-time user and you do not have the Activation Code, kindly contact your system admin and request one. You can use the “Don’t have QR code” feature to get it by yourself.
On-Boarding
Installation
First, download the V-Key Smart Authentication from either the Google Play Store or Apple Store (iOS) .
To install, simply click the applicable link or scan the QR code to download.

Activation
To activate your account, you can choose between Passwordless Activation or Standard Activation. The first one relies on biometrics instead of keying in your credentials (Standard Activation).
Please keep your Activation Code handy (either QR or Text code).
Passwordless Activation
For Passwordless Activation, please complete the following:
- Launch the V-Key Smart Authenticator and follow any instructions on the welcome pages.
- Tap Get Started and then the Add Account button.
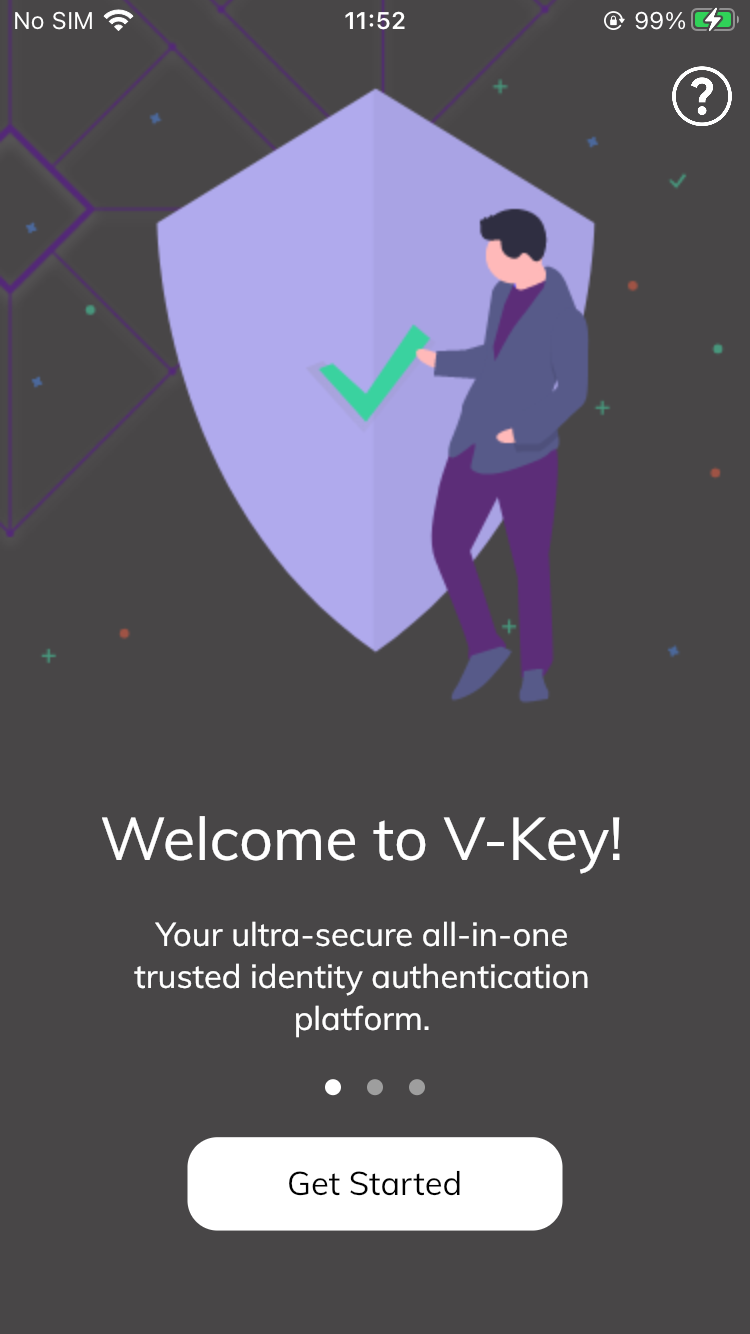
Fig 1.1: Get Started Page
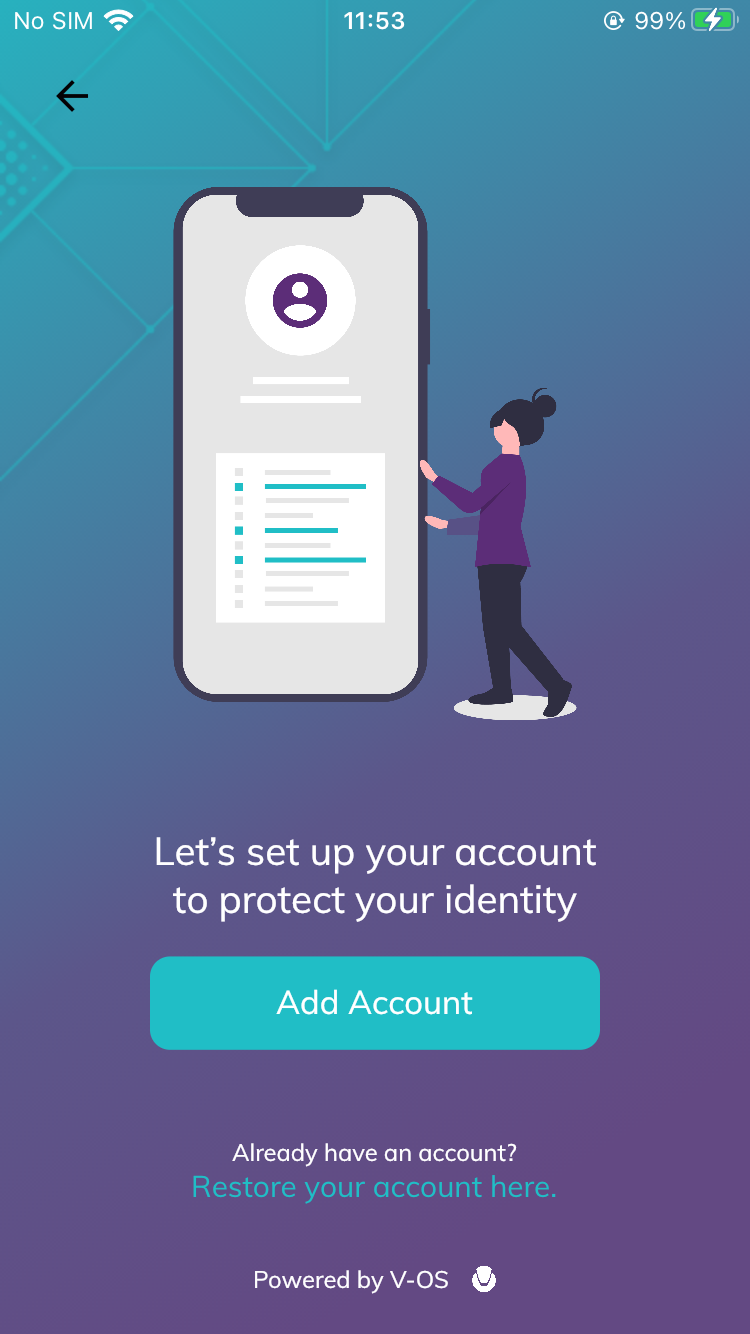
Fig 1.2: Add Account Page
- You will be prompted to scan QR code or input the (text) Activation code to activate your account.
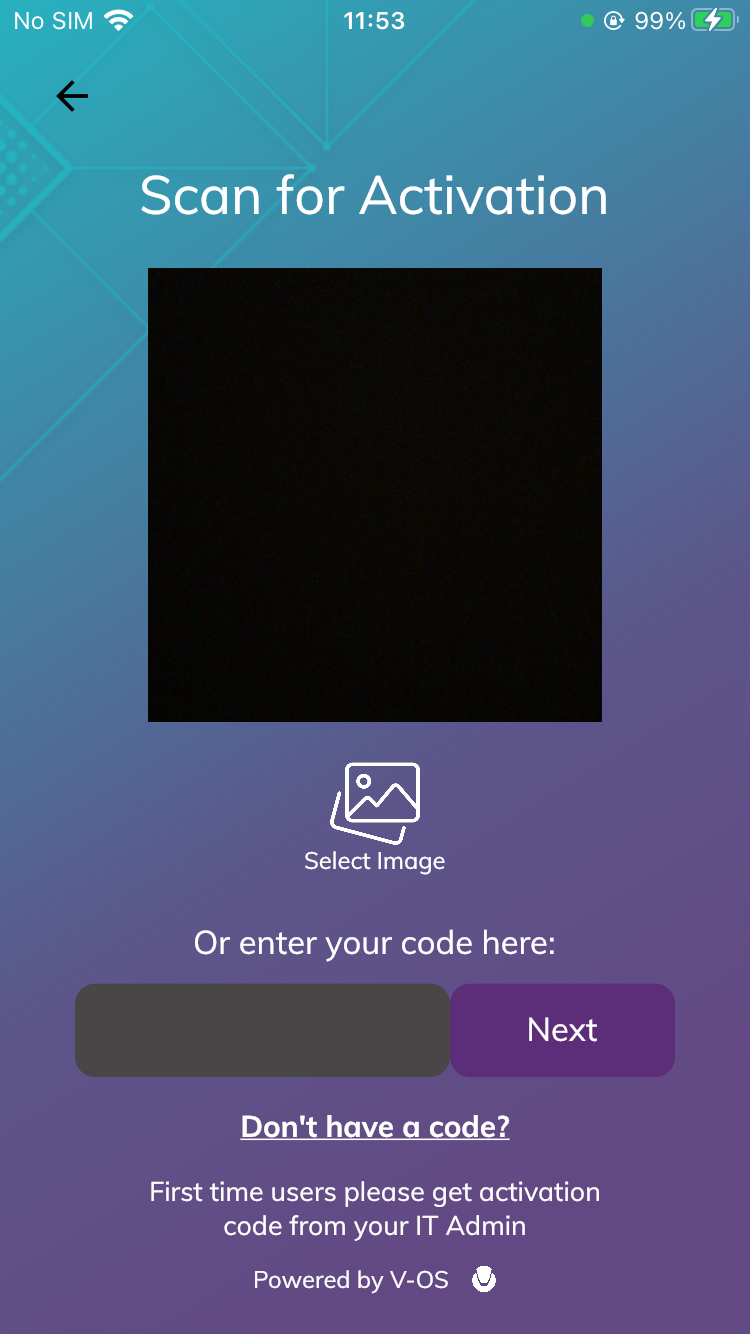
Fig 1.3: Scan or input activation code Page
- Set a six-digit PIN for your account. Keep this PIN code in a secure place, it will be used for authenticating your account, or for adding more accounts later.
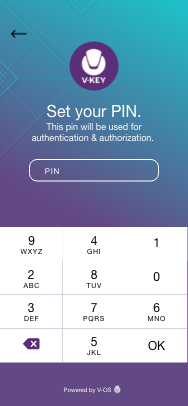
Fig 1.4 : Set your six-digit PIN code
- Please s et up your recovery email. This will be used for Backup & Restore purposes and will be associated with your biometric V-Key Face ID.

Fig 1.5 : Set up your recovery email
That’s it. You’re all set!
You are now ready to securely log-in to the V-Key Smart Authenticator.
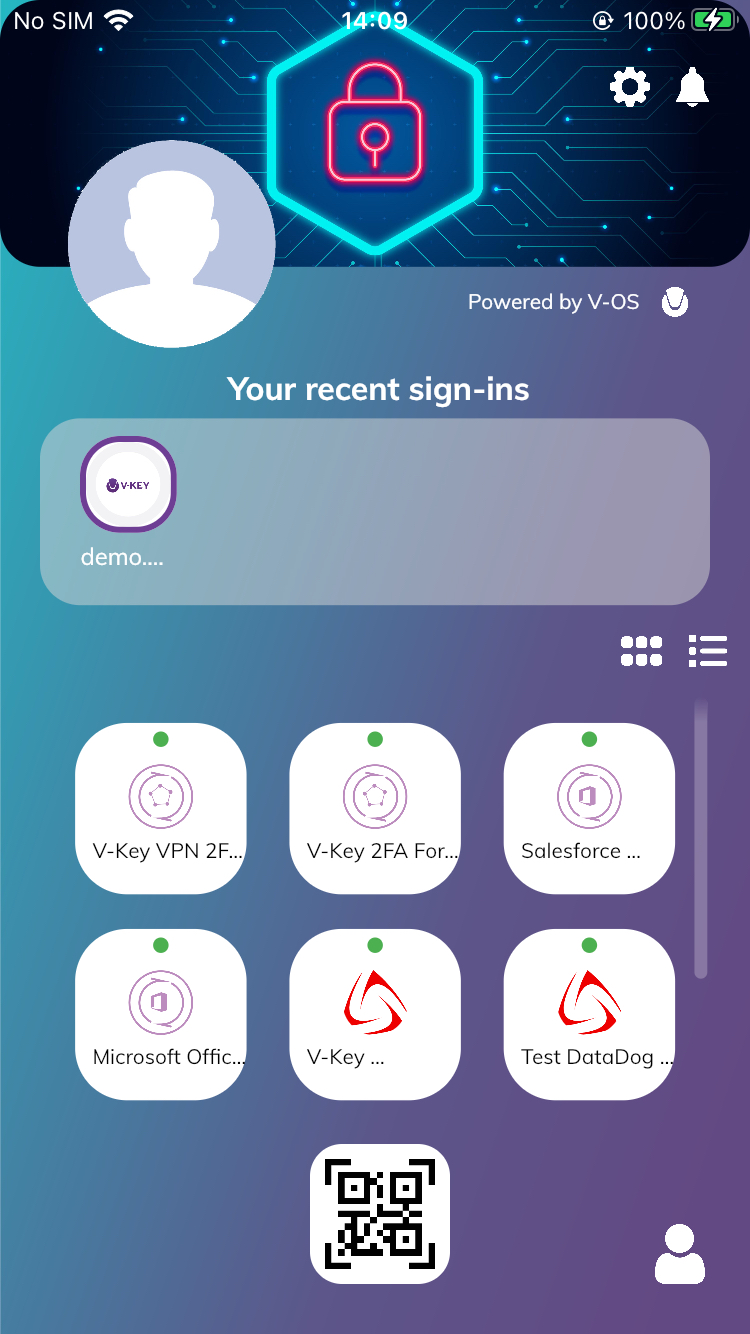
Fig 1.6: V-Key Smart Authenticator Home
Standard Activation
For the Standard Activation, you will be scanning two QR Codes. Let’s begin:
- Launch the V-Key Smart Authenticator and follow any instructions on the welcome pages.
- Tap Get Started and then the Add Account button.
3. You will be prompted to scan QR code or input the (text) Activation code to activate your account.
Fig 2.1: Get Started Page
Fig 2.2: Add Account Page
- Scan the QR Code (This is known as the “Token Profile QR Code”) that you have been provided.
Fig 2.3: Scan or Input Activation C ode
- Key in your username and password to sign in.
Note: Depending on the configuration, some organizations may use your email address as your username. If you are unsure about what to use, please contact your system admin.
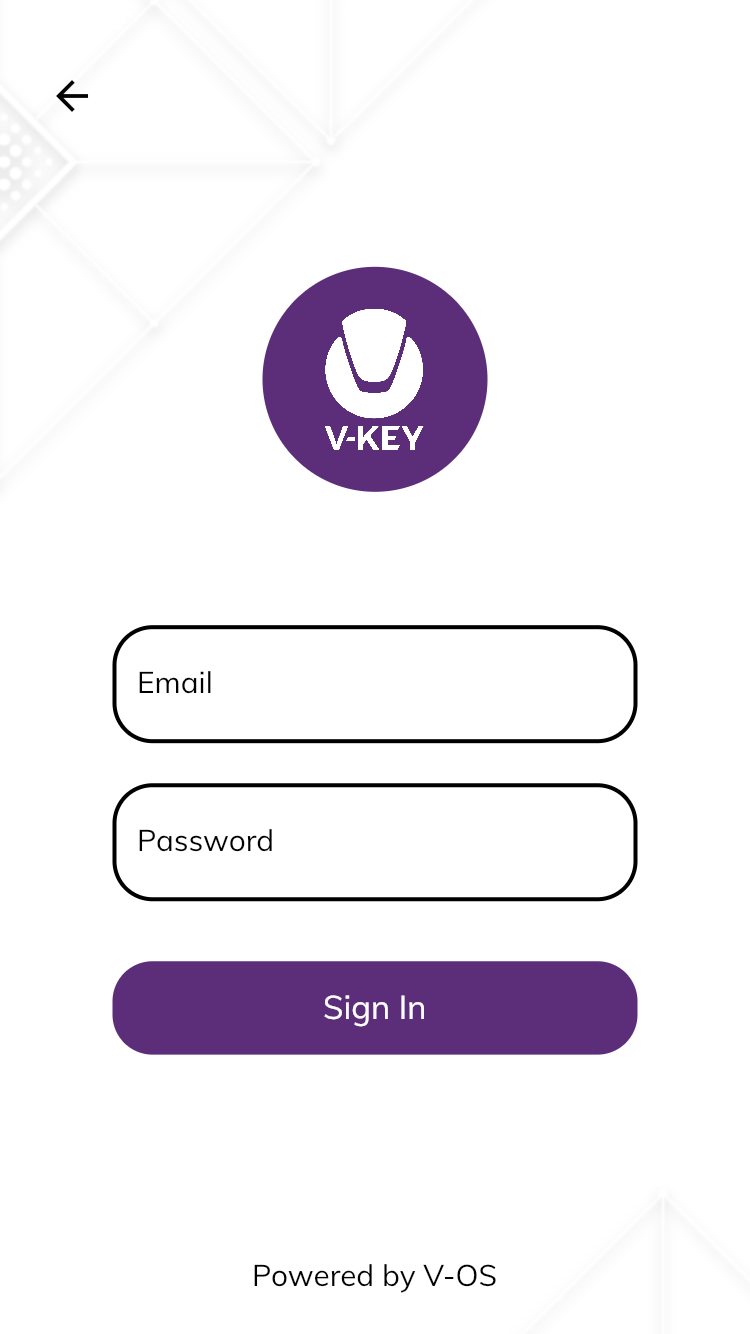
Fig 2.4: Sign-in to Your Account
- Enter your email address to get a second QR code.
Note: The token activation steps will be done automatically in the background if your network is registered by your system admin as a trusted network.
Fig 2.5: Get 2nd QR Code by Email
- Scan the QR code that you have been sent to your email to activate your token.
Fig 2.6: Scan the 2nd QR Code
8. Set a six-digit PIN for your account. Keep this PIN code in a secure place, it will be used for authenticating your account, or for adding more accounts later.
Fig 2.7: Set your Six-digit PIN C ode
9. Please set up your recovery email. This will be used for Backup & Restore purposes and will be associated with your biometric V-Key Face ID.
Fig 2.8: Set-up your R ecovery E mail
- That’s it. You’re all set!
After the token has been successfully activated, second-factor (2FA) will be enabled for you. The list of services available will be shown on the Smart Authenticator app’s main page. A green dot at the upper-left corner of the service will indicate that a service is active.
You are now ready to securely log-in to the V-Key Smart Authenticator.
Fig 2.9: V-Key Smart Authenticator Home
- After the token is successfully activated, 2nd factor authentication is enabled for you. The list of services available to you will be shown on the main page.
A green dot at the upper-left corner of the service indicates if a particular service is active.
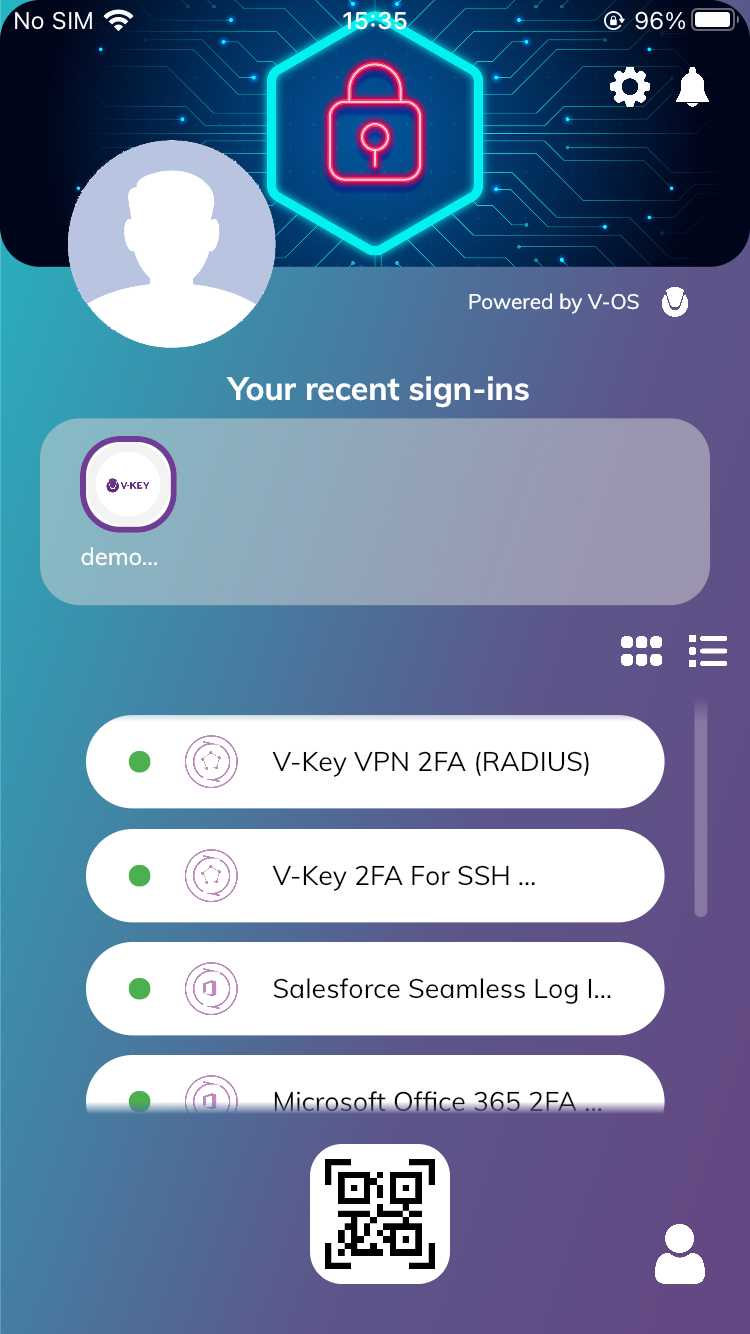
Fig 2.10: Main Screen
- A push notification will be sent to you for login approval.
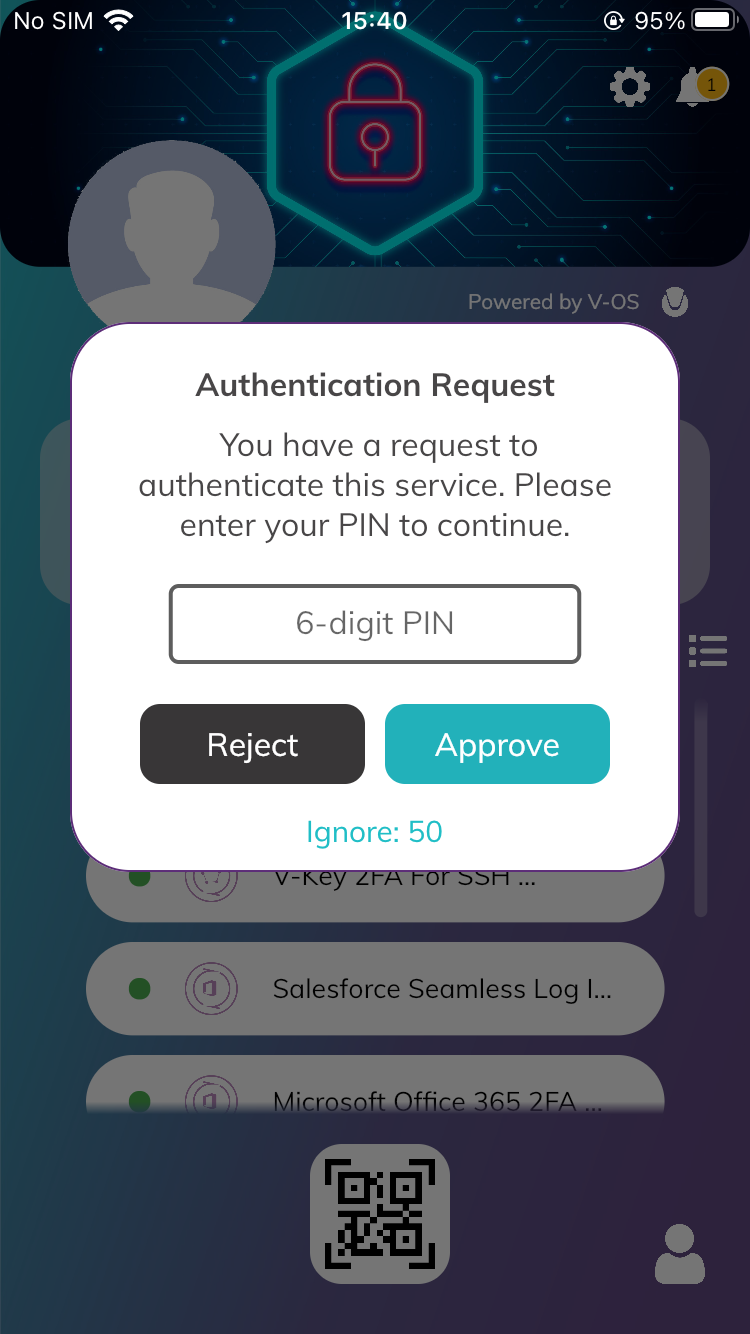
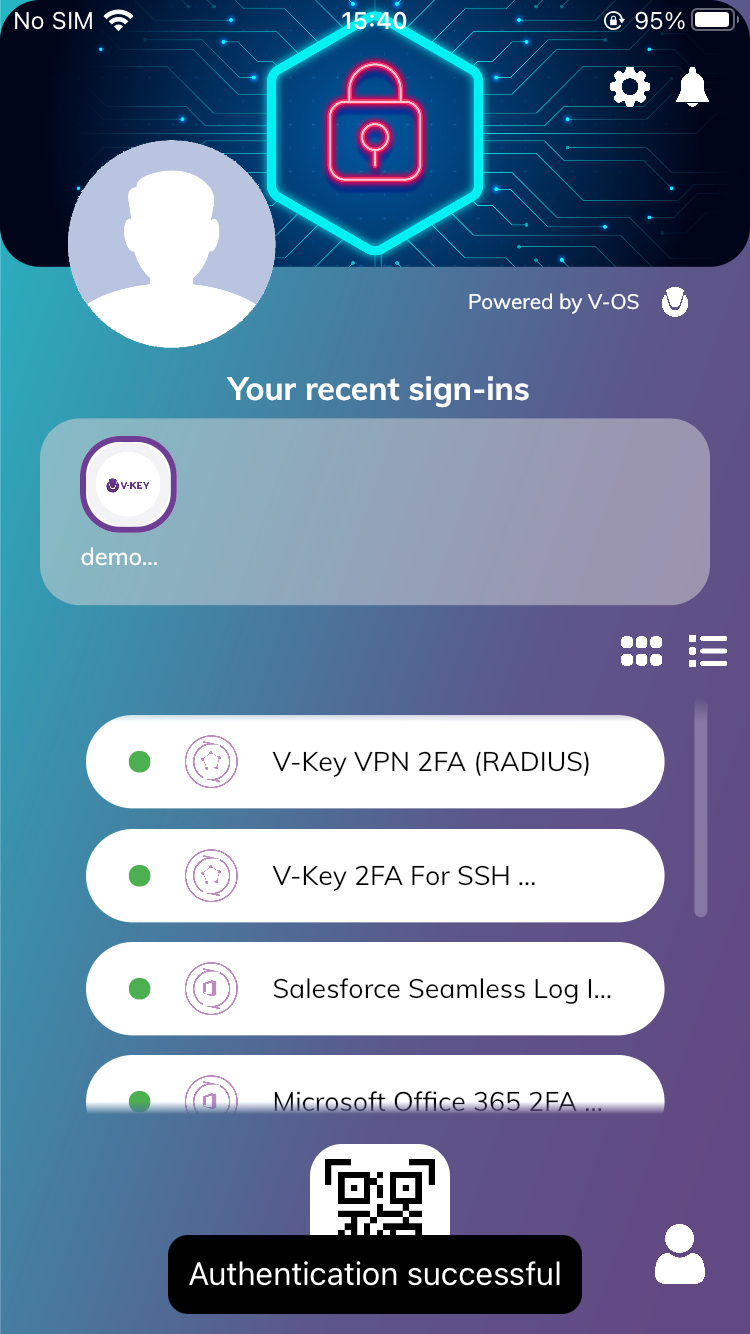
Fig 2.11: Push Notification Authentication
Activating Multi-Accounts
The V-Key Smart Authenticator allows you to activate multiple accounts on the same device, regardless of whether they are enabled for different applications or by different organizations, as long as they have been integrated with V-Key’s V-OS Cloud services.
For example, you can have two Office 365 accounts — the first one for your family or home Office 365 subscription, and the other is for your corporate Office 365 account. This is possible as long that they are both are integrated with Office 365/SAML2.0 2FA service on V-OS Cloud.
Here’s how to add more accounts:
- On Home page, tap on the accounts icon at the right-bottom corner to open the My Accounts page.
- On the My Accounts page, tap on the ” +” icon on the right.
- Please can scan or input the Activation Code to activate the new account.
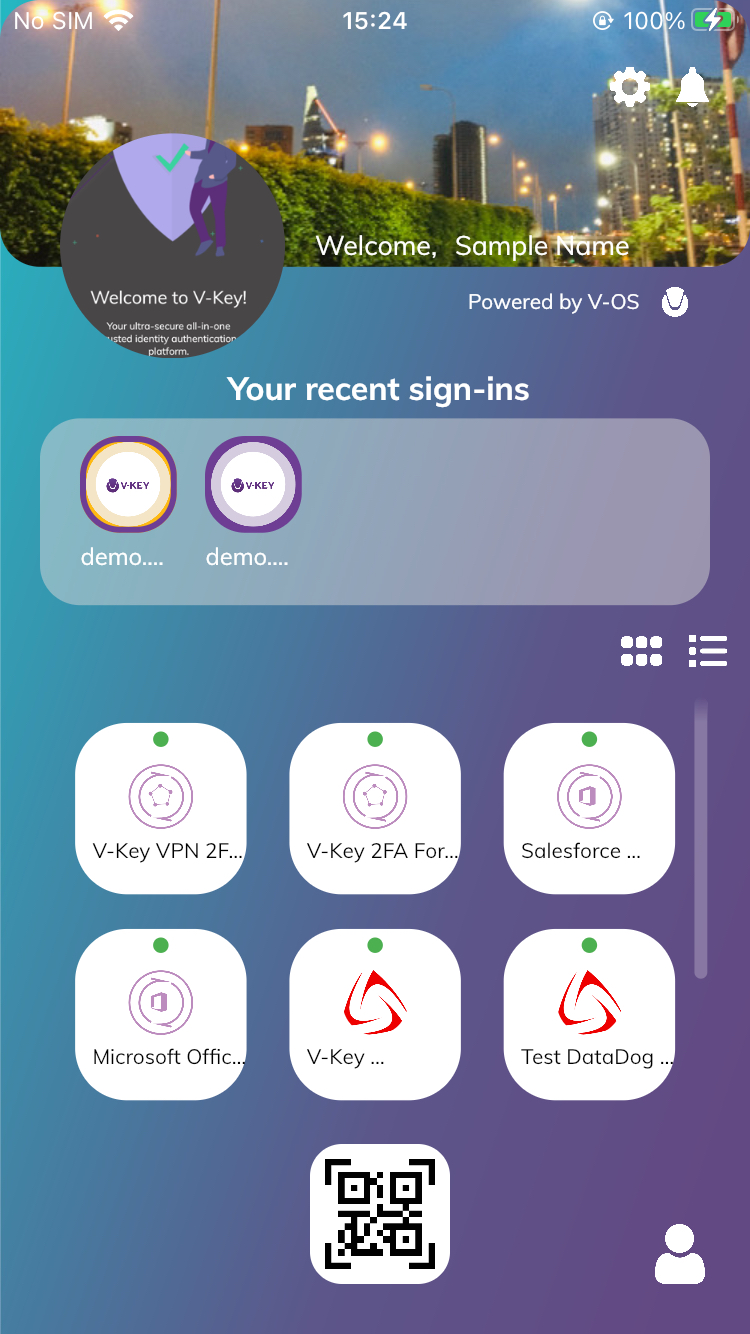
Fig 3.1: Multi-Accounts
You can repeat the steps above to add all the accounts you need.
The V-Key Smart Authenticator currently supports the following tokens:
· V-Key PKI account: Based on PKI token provided by V-Key
· V-Key OTP: Based on an OTP (One-Time Password) token provided by V-Key
· Generic OTP: A general OTP account that allows users to login to Microsoft, Google, Dropbox, and many other applications that support OTP as 2FA.
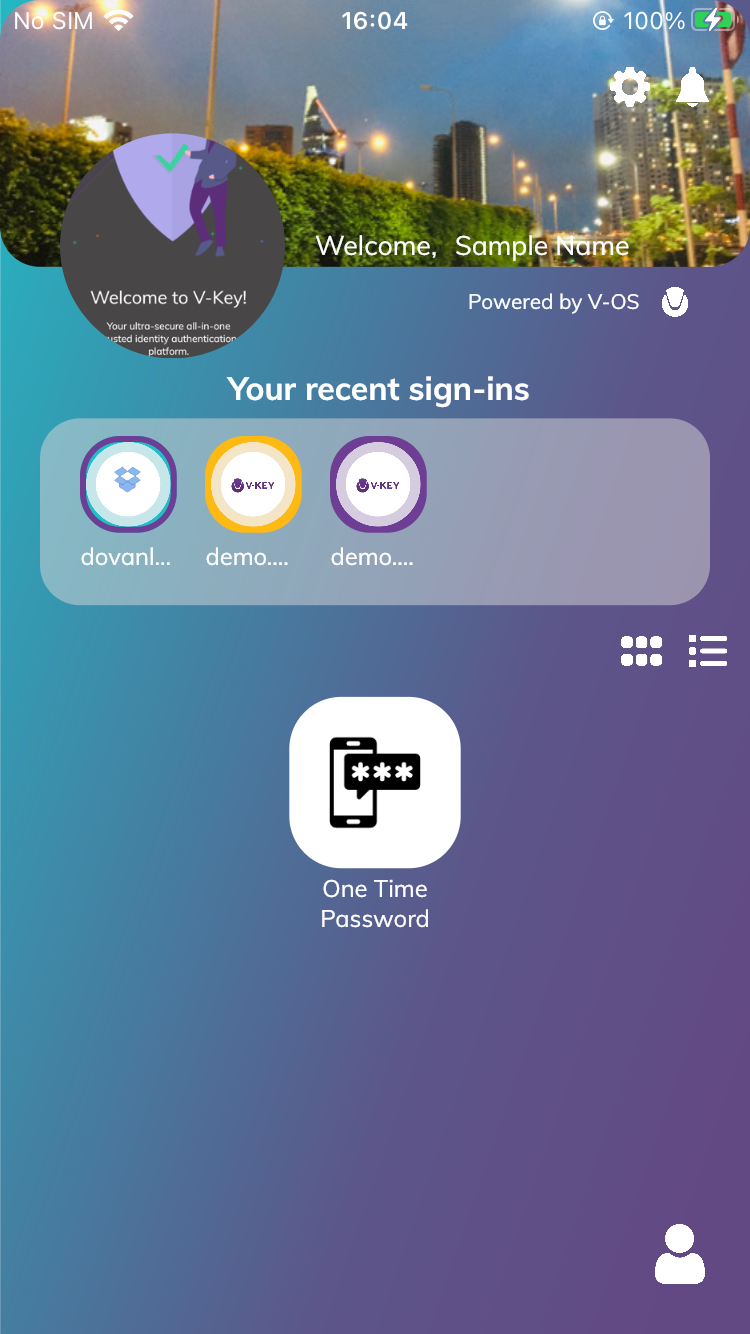
Fig 3.2 : Different Account Types
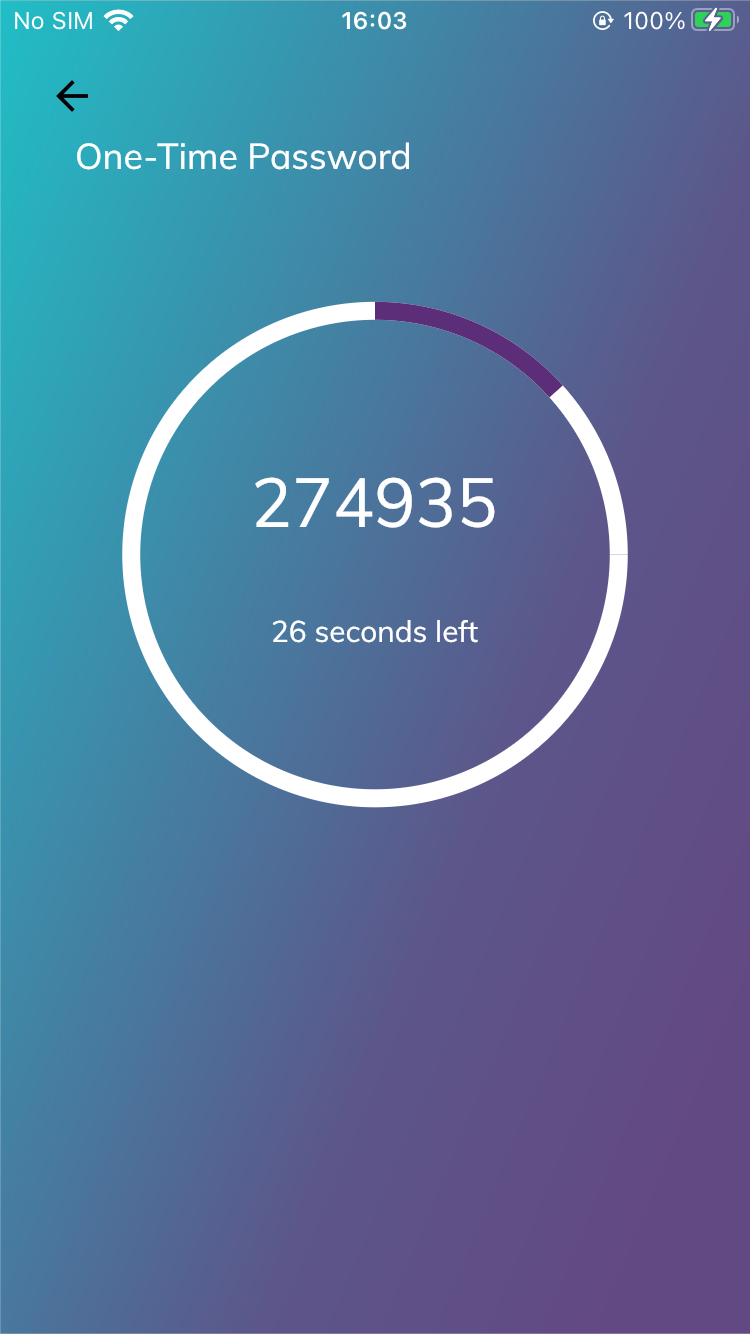
Fig 3.3 : Generic OTP
Activating An Account
If your phone is new, has been lost or broken but is now replaced, you can still reactivate your account as long as you remember your log-in credentials (email and password).
To re-activate, please do the following:
- Download and install the V-Key Smart Authenticator to your new device. If you already have the V-Key Smart Authenticator installed, go to My Accounts choose the ” +” button, and add a new account.
Fig 4.1: Add Account
- Tap on Add Account, to open Scan for Activation.
Fig 4.2: Scan or input activation code
- Tap on the link for Don’t have a code to start.
- Input your credentials ( email and password) then press Continue.
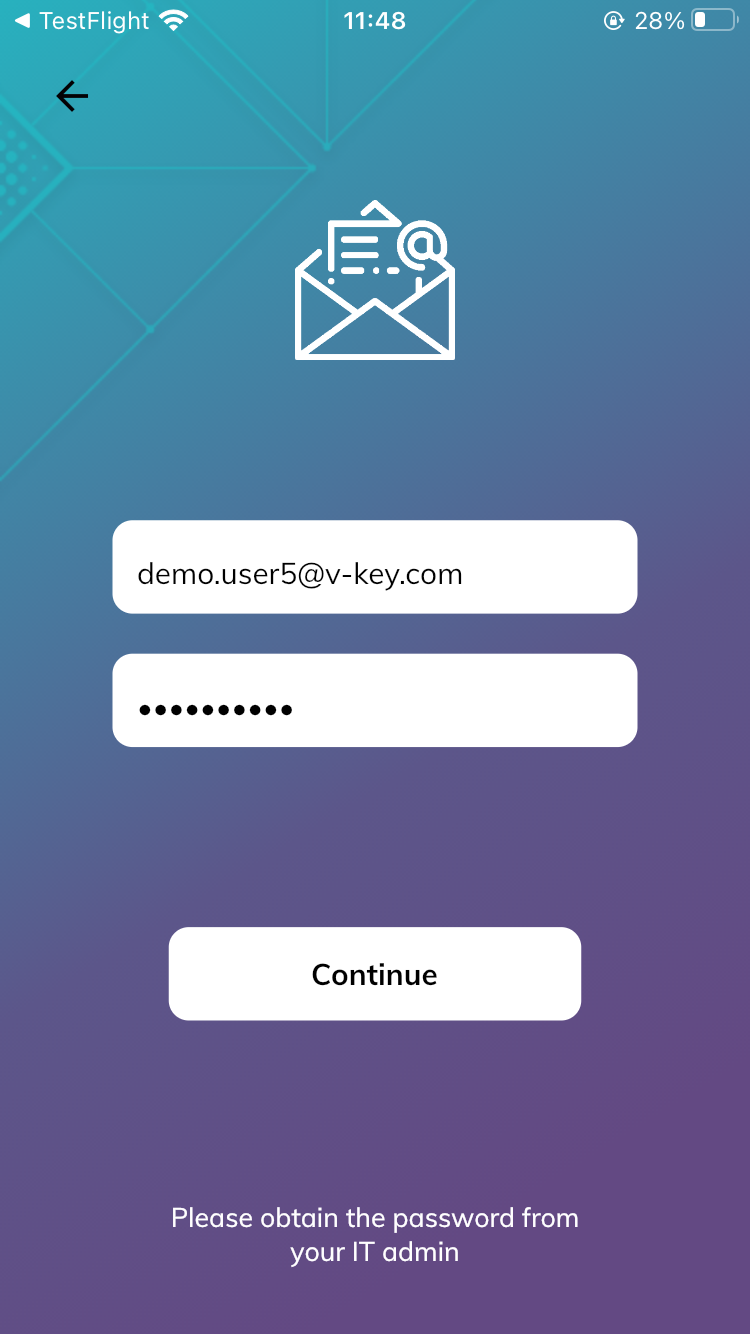
Fig 4.3: Sign-In
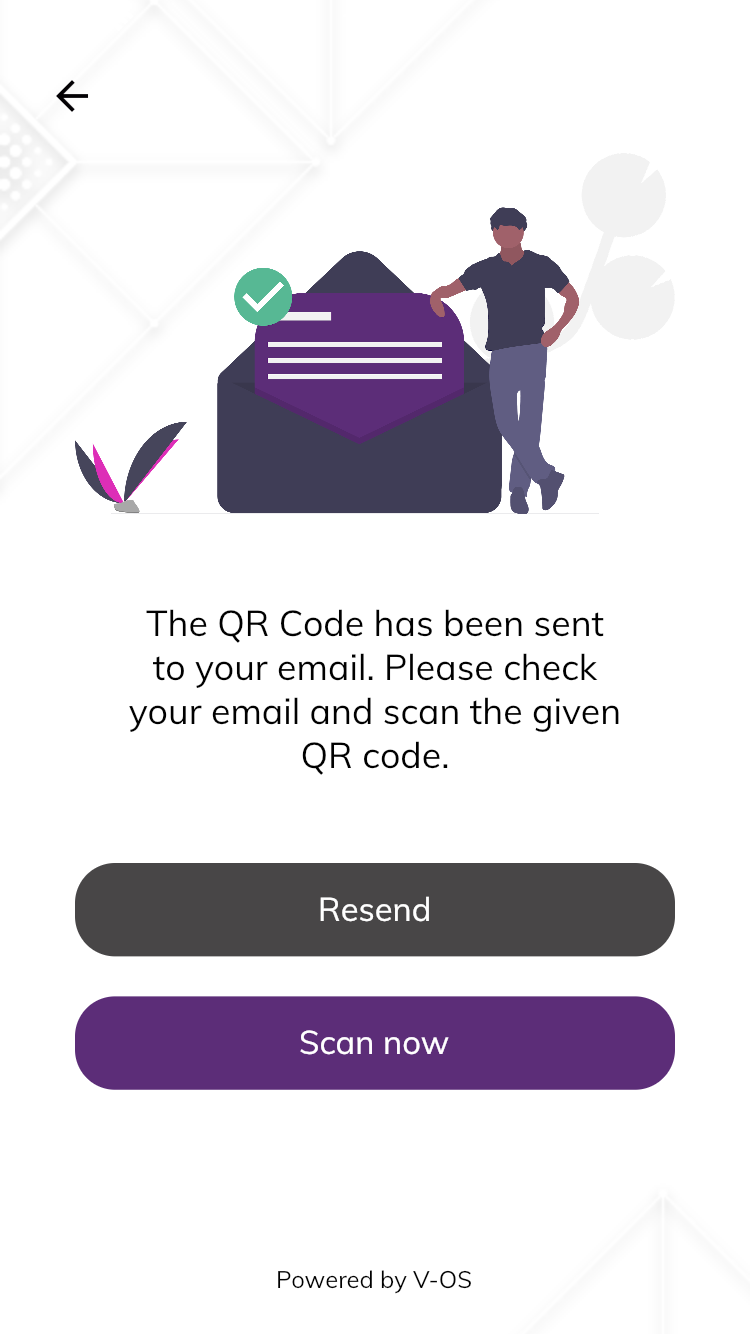
You will be sent a code to your recovery email as below.
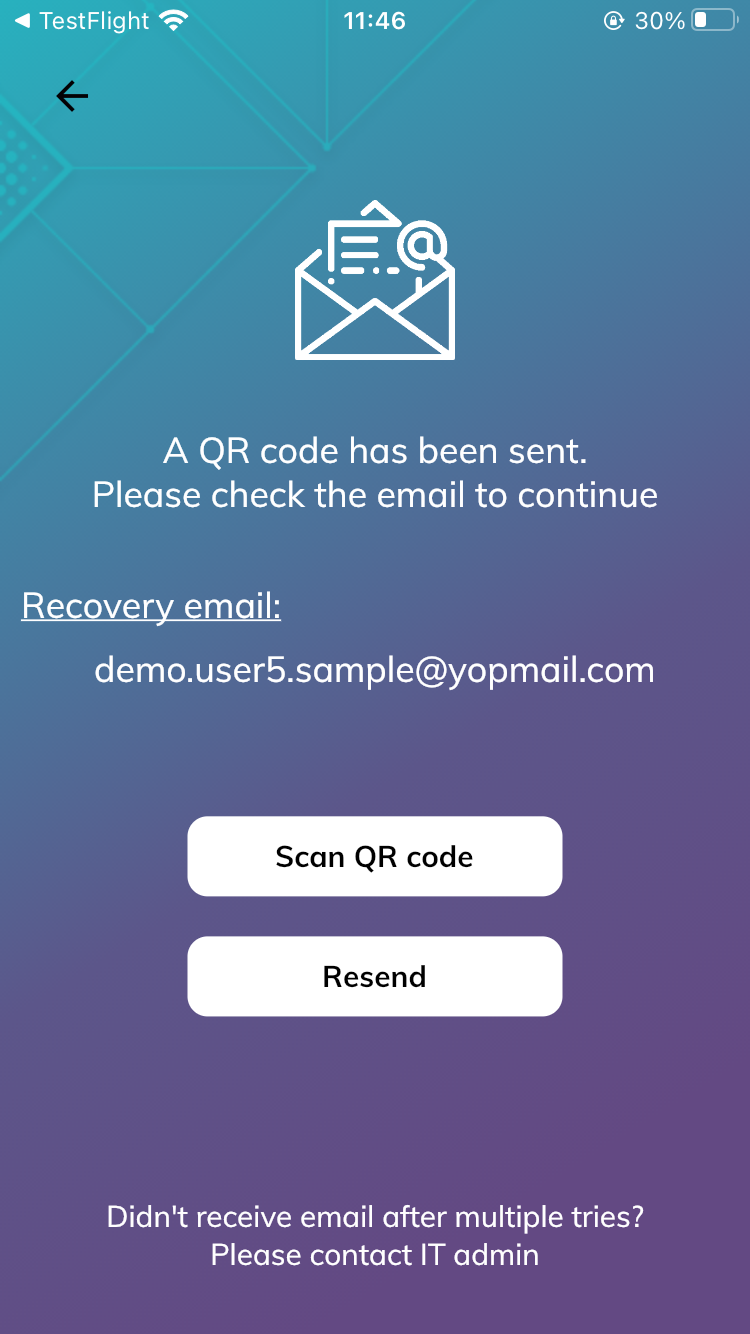
Fig 4.4: Code Sent to Recovery Email
Tap on Scan QR Code to scan and complete the activation process.
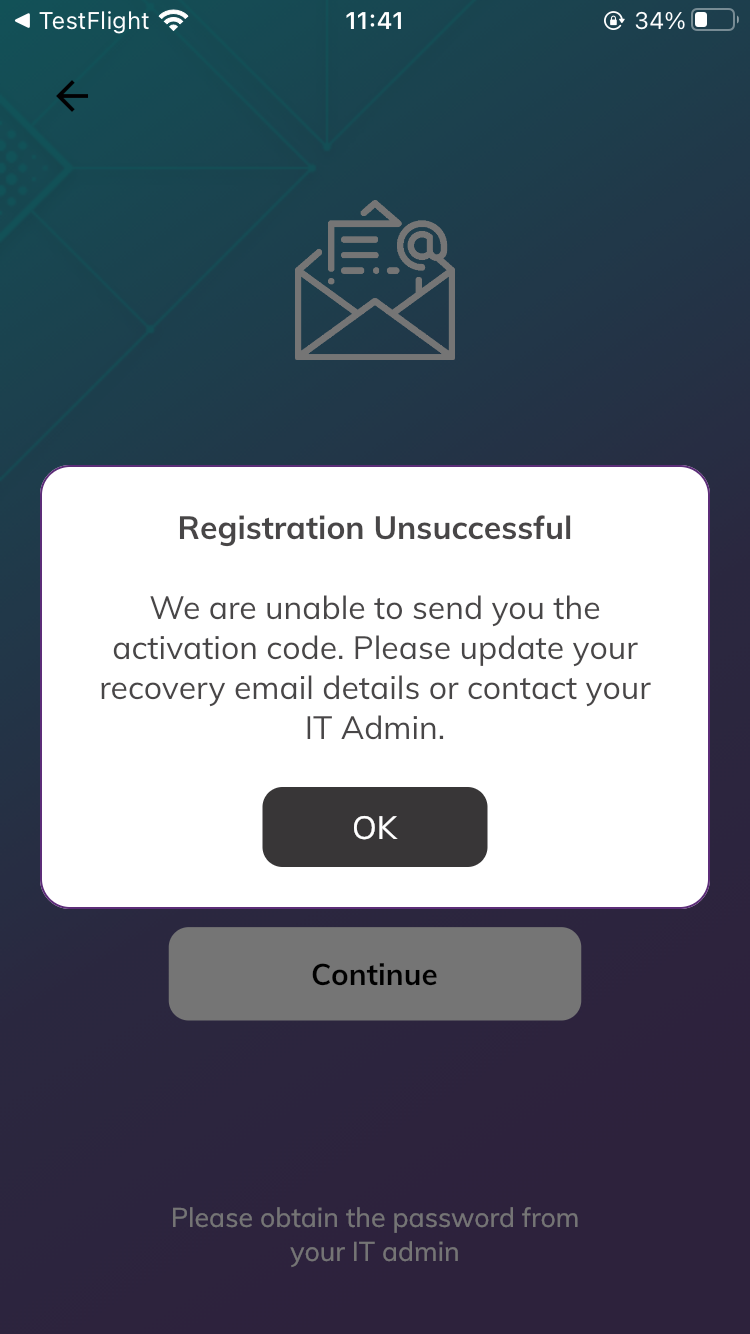
Note: This is only possible if you had previously set-up a recovery email. If you have not, or for any other issue, please contact your system administrator.
 Or
Or 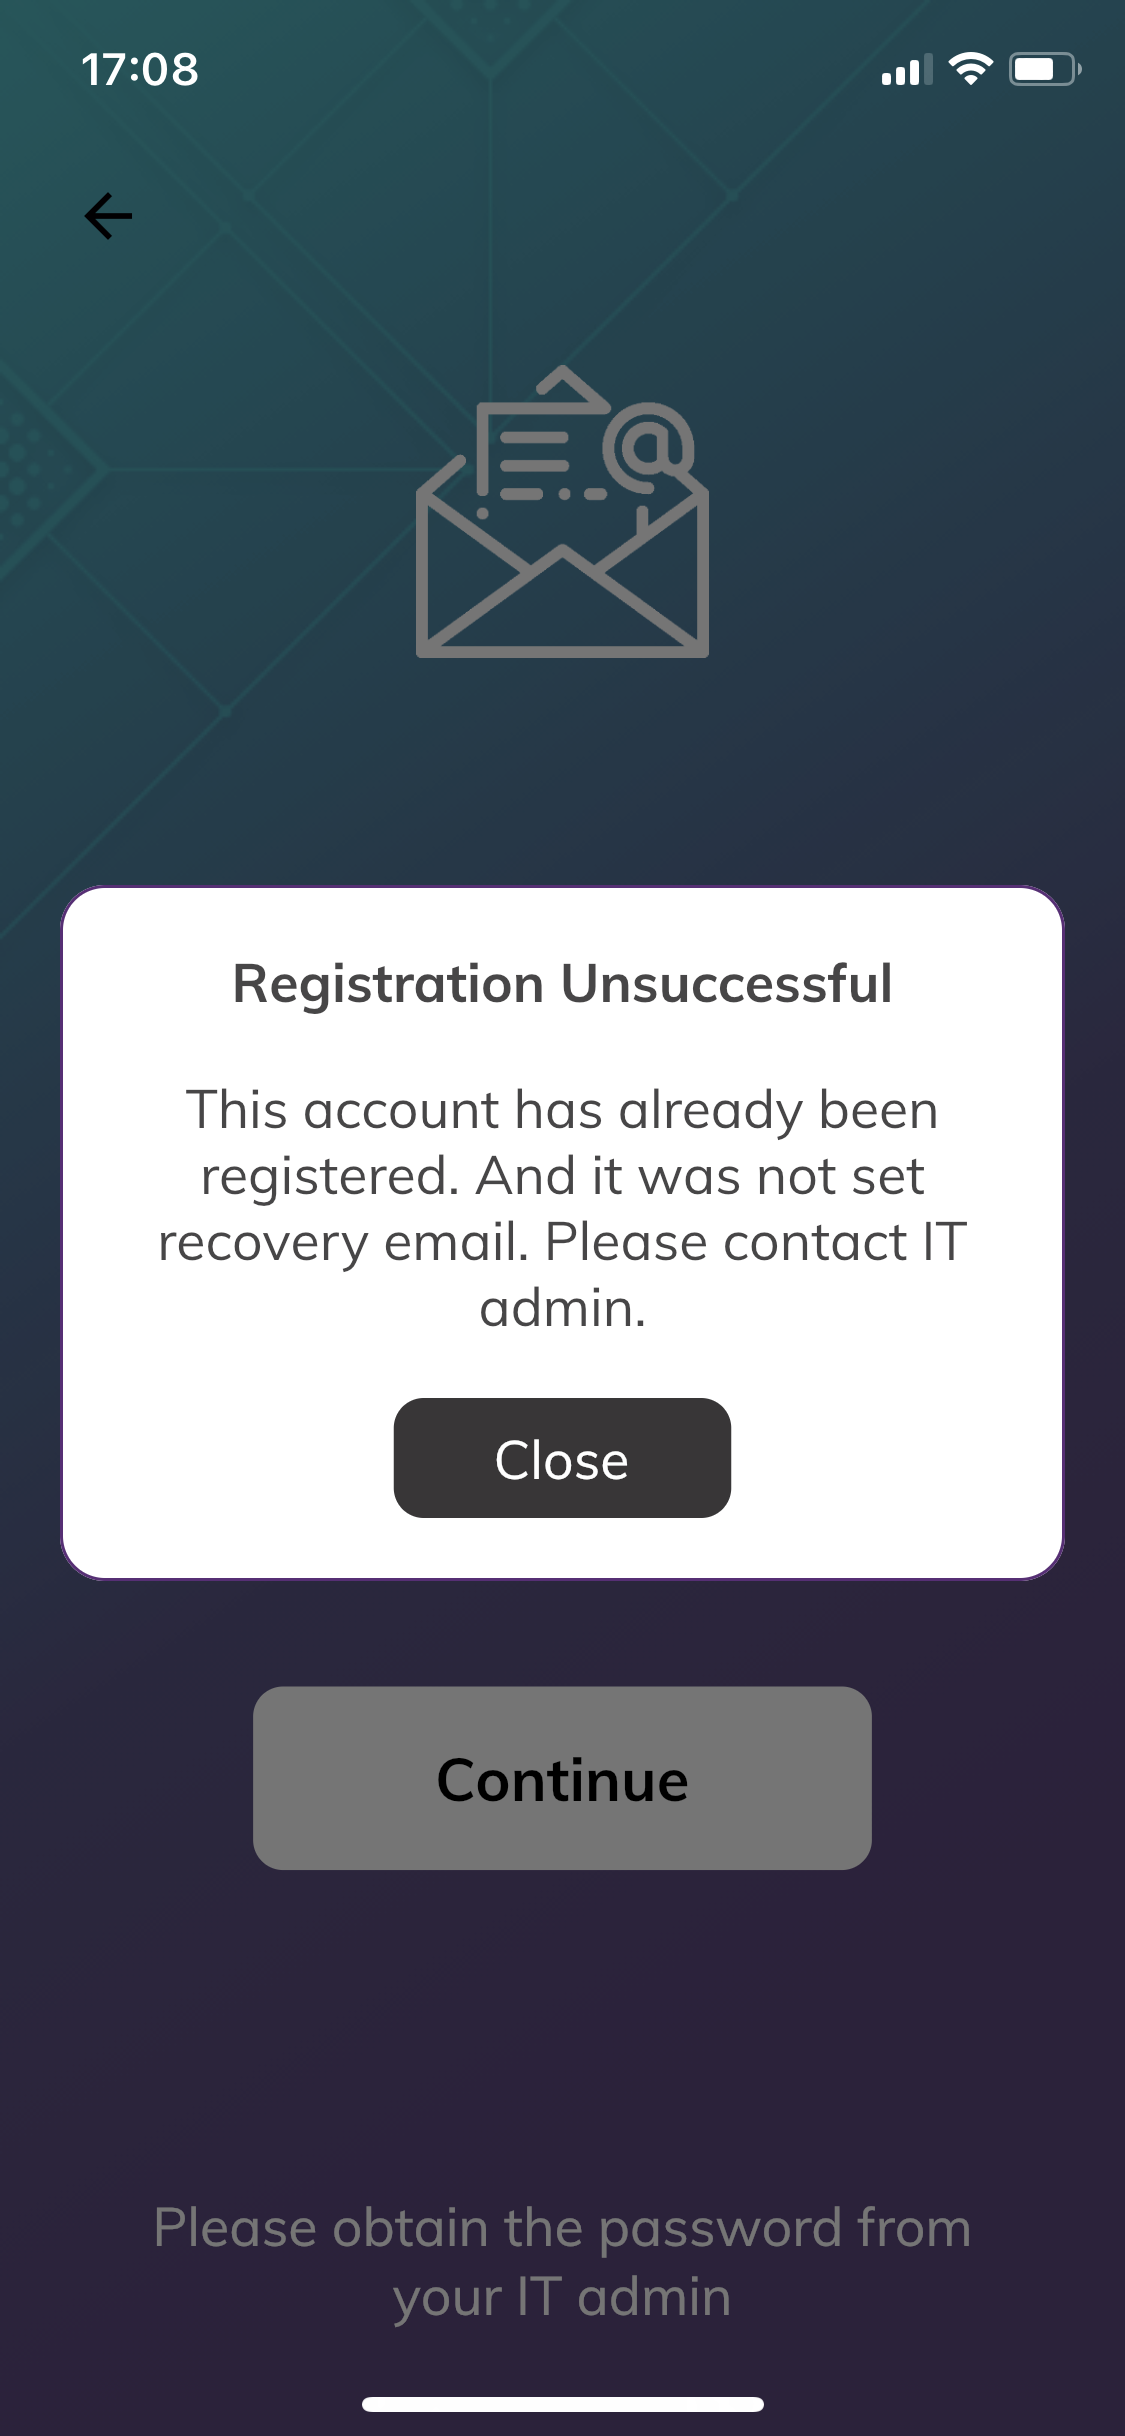
Fig 4.5: No Recovery Email Error
If there is an error, you may be asked to reset your account.
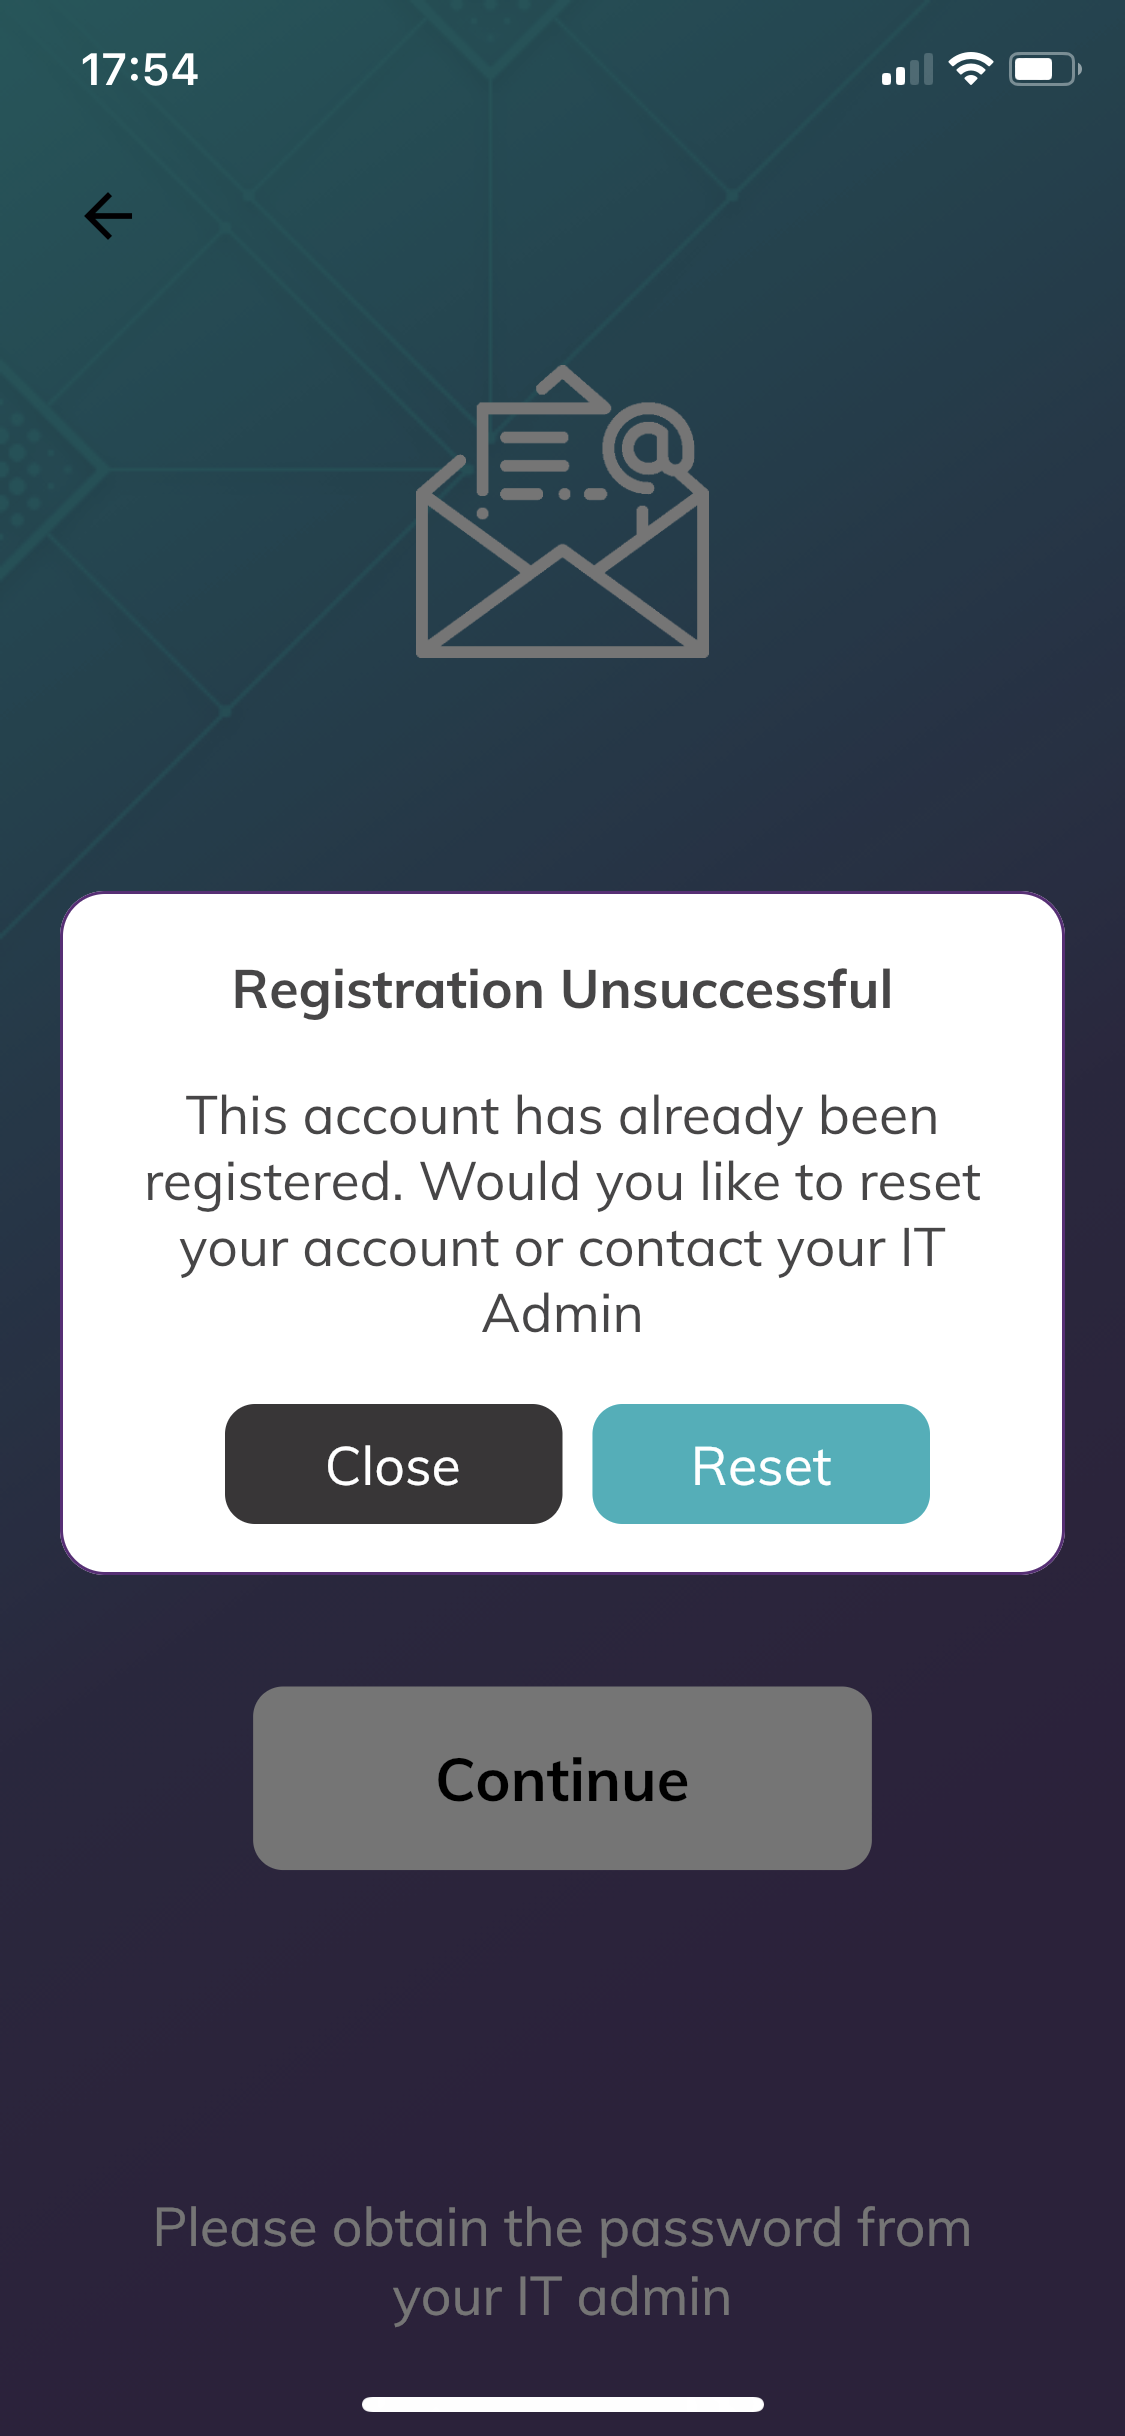
Fig 4.6: Reset Account
In which case, tap on Reset to get a Reset Link sent to your recovery email.
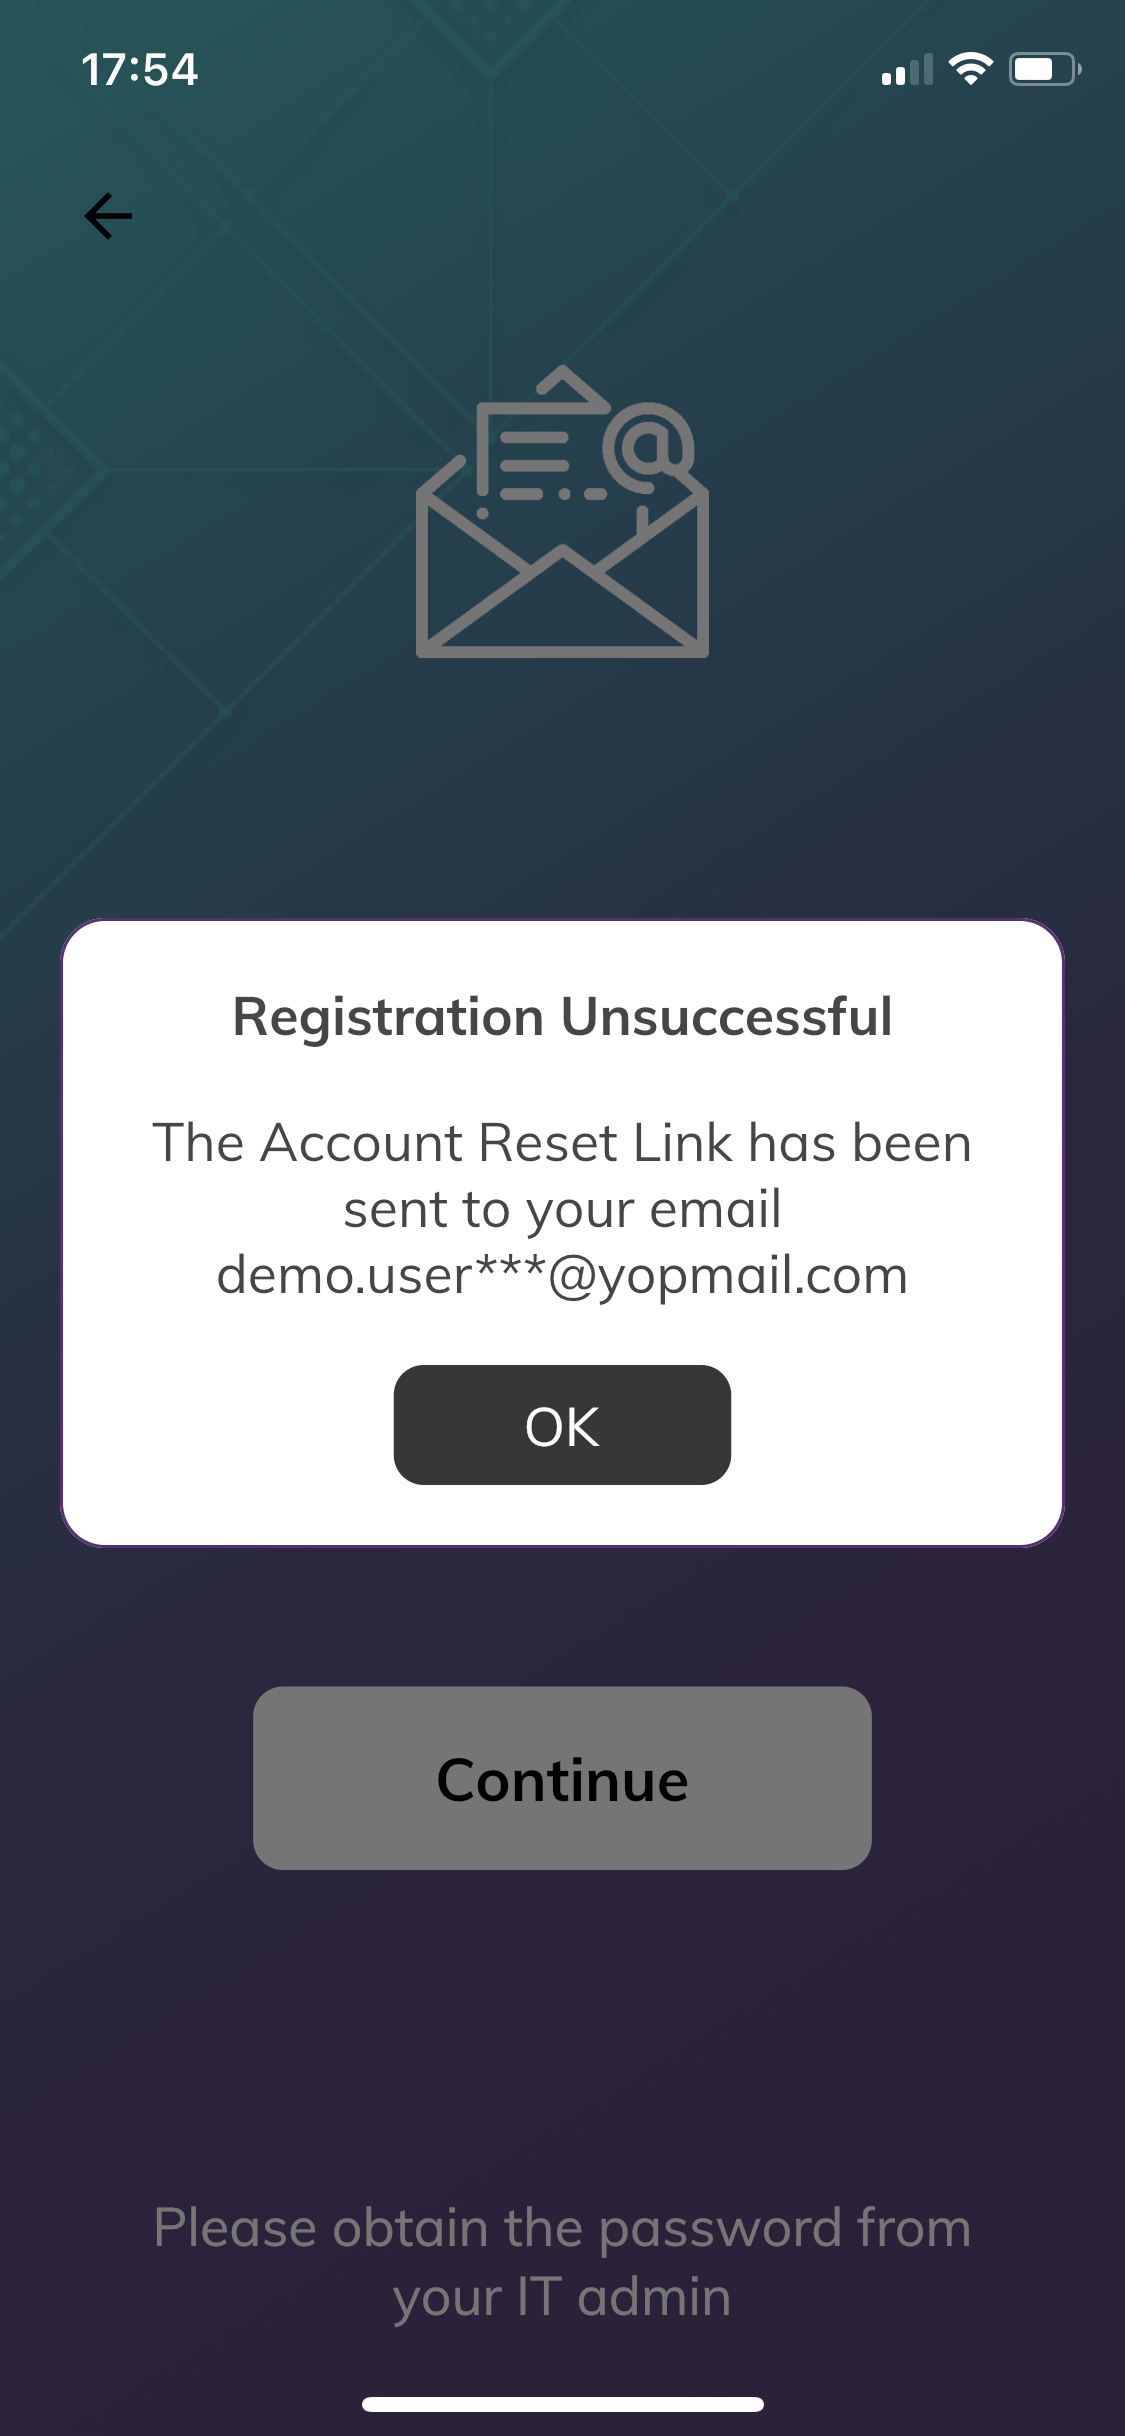
Fig 4.7: Reset Link Email
Check your recovery email for the reset link then again.
Authenticating A Service
You can use the V-Key Smart Authenticator as a 2FA device to protect access to your applications, such as your VPN, Office 365, Salesforce and many others.
The V-Key Smart Authenticator supports following authentication methods:
· QR Code Login ( Passwordless Authentication): authentication without keying any password
· Credentials Login (Push Authentication): approve login requests via a message pushed from your mobile.
· One-Time Password: Use a one-time code generated by the V-Key Smart Authenticator for login to third-party applications
Passwordless Authentication
To log into an application using Passwordless authentication:
- Open the application login page on your computer or mobile device then key in your user name (sample shown below is for Office 365)
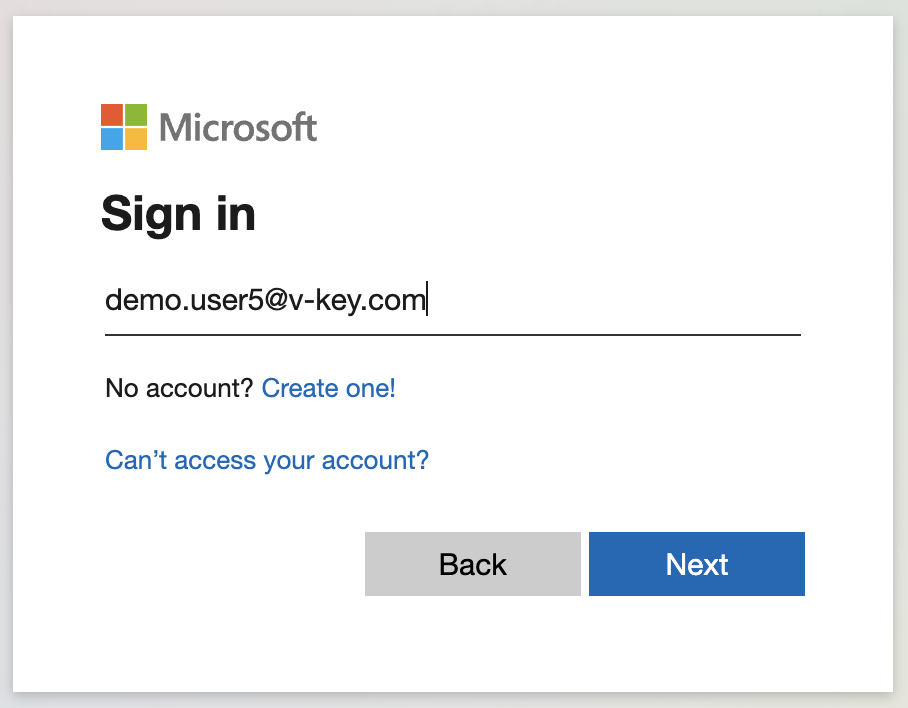
Fig 5.1: Application Login
- You will be redirected to login page. Choose the QR Code Login tab.

Fig 5.2: QR Code Login
- Launch the V-Key Smart Authenticator app. If you are logging into an application on the same device, you can just tap on the QR Code to launch the V-Key Smart Authenticator directly.
- Tap on the QR Code icon on the Home screen or on the Account details page to open the link to the Scan for Authentication page.
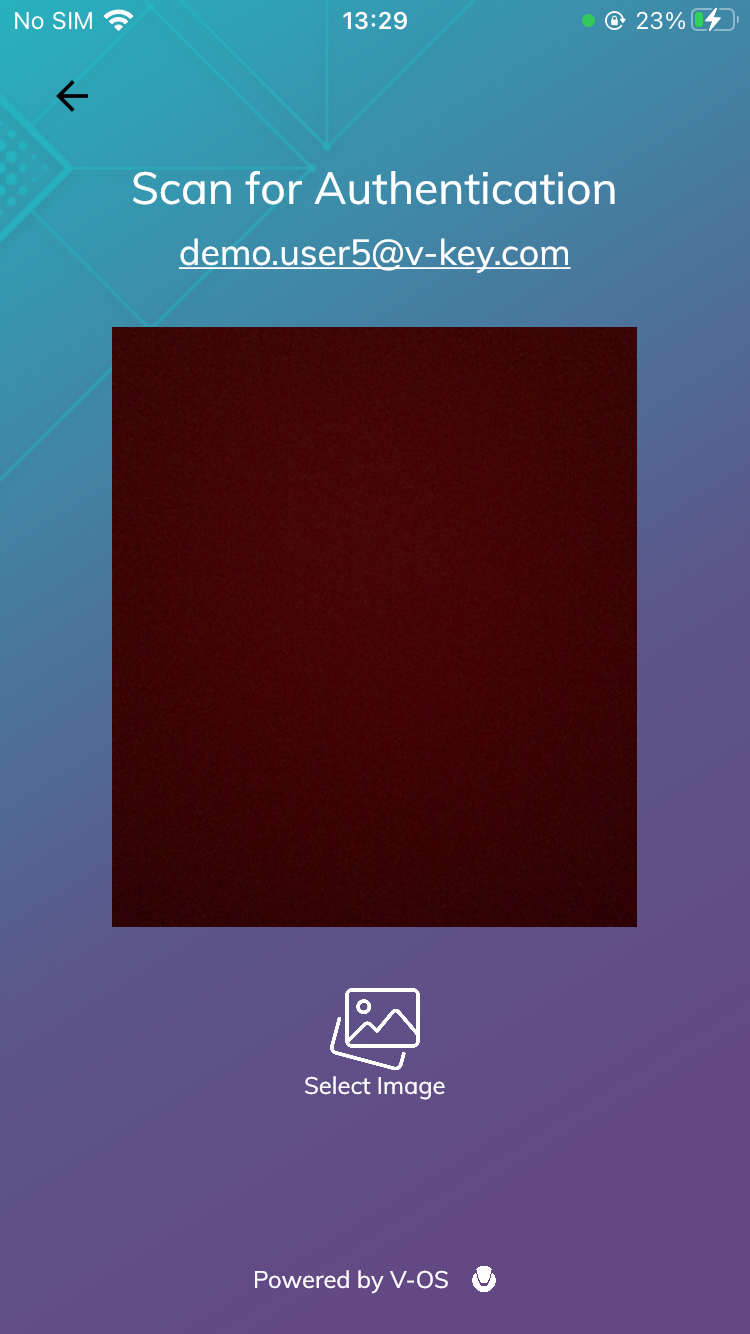
Fig 5.3: Scan for Authentication
Verify your username on the Scan for Authentication page to ensure it is the same one you want to log in to. You may need to switch to the account you require for your application ( e.g. from family to corporate).
- Scan the QR Code or Select Image to load the QR Code image.
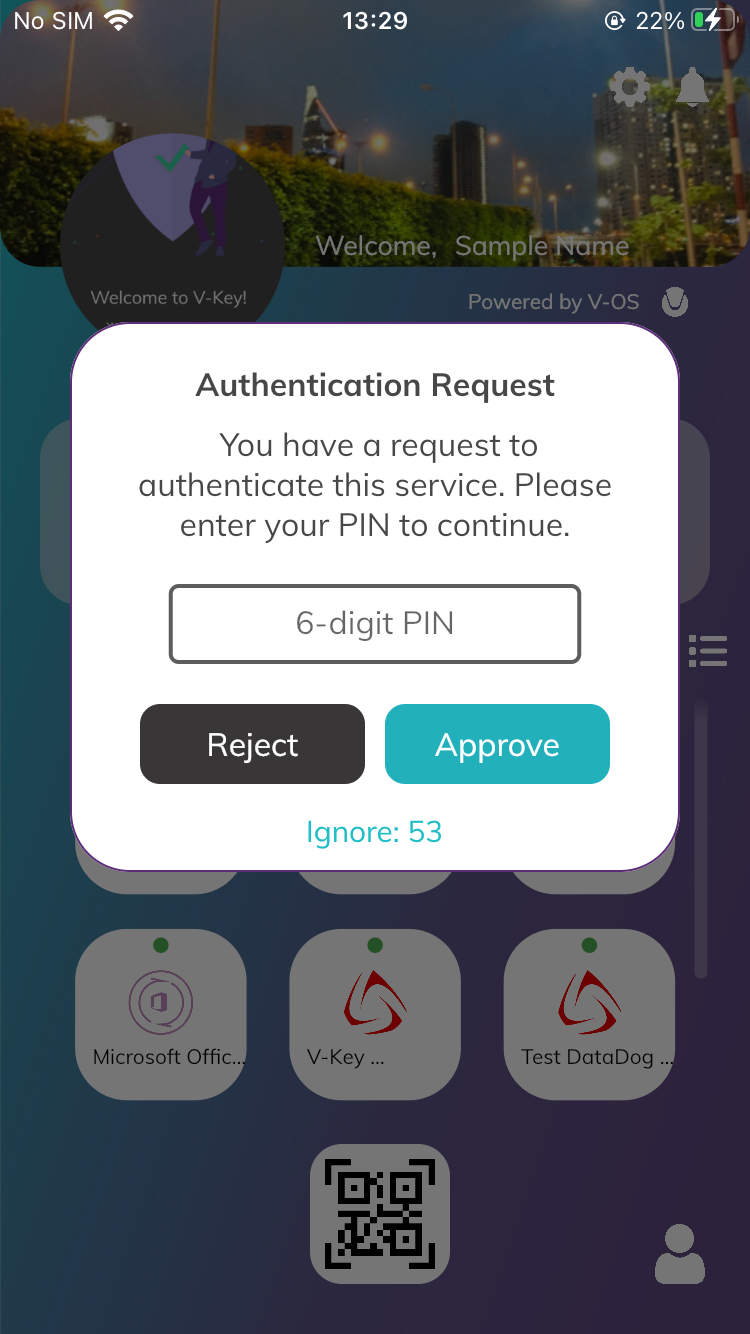
Fig 5.4: Confirm Login Request
- Type in your PIN or present your Biometric ID (face or fingerprint, depending on what has been set-up) that you had configured in the Preferences for that account.
- Confirm the login request by tapping on Approve or Reject
Push Authentication
- To use Push Authentication for Credentials Login, please do the following:
- Choose the Credentials Login tab on the login page.
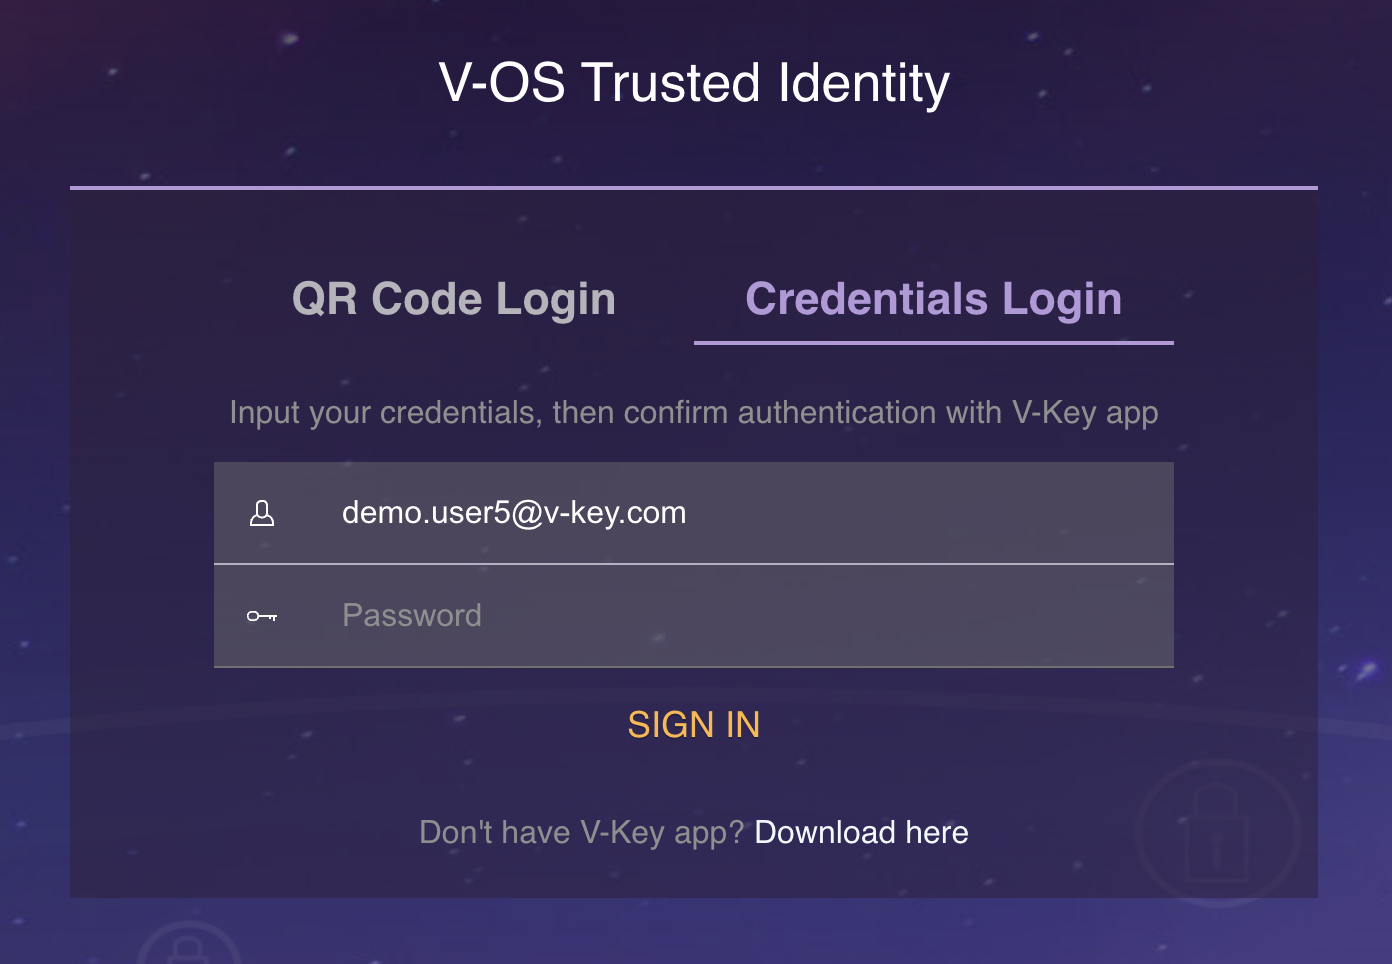
Fig 6.1: Credentials Login
- Type in your username and password, then press SIGN IN
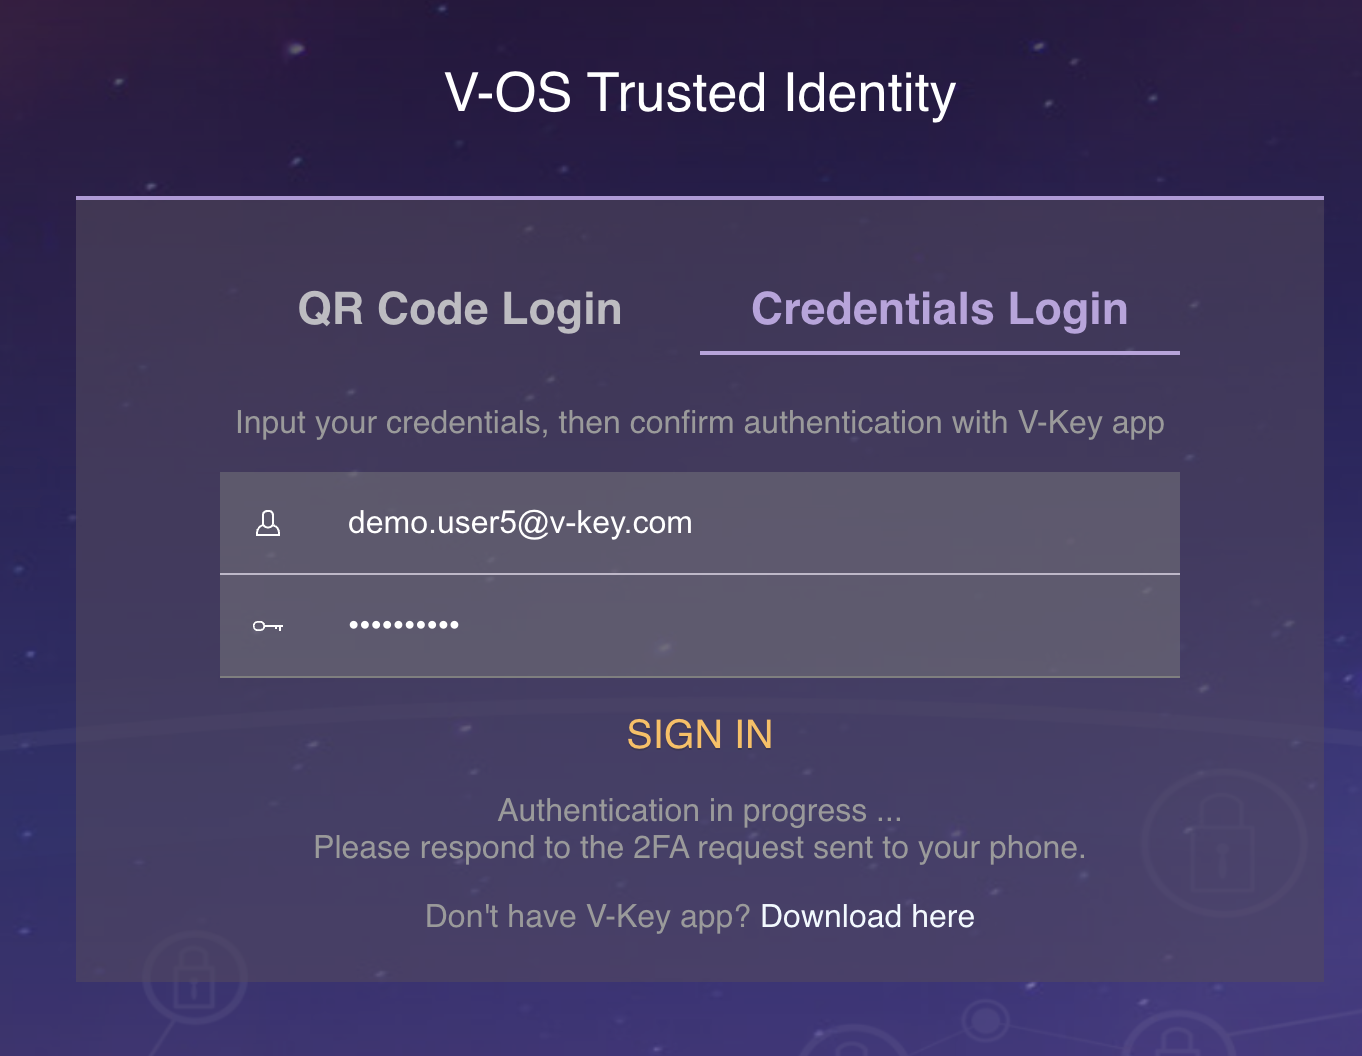
Fig 6.2: Credentials Login with Push
A push notification message will be sent to the device where the V-Key Smart Authenticator was activated.

Fig 6.3: Push Authentication Request
- Input your PIN or present your Biometric ID (face or fingerprint) depending on the authentication method you had configured in Preferences.
- Confirm the login request by tapping on Approve or Reject
Configuring The Smart Authenticator
Changing The Security Method
The V-Key Smart Authenticator supports several methods to authenticate a login request for your account:
· PIN: a six-digit PIN code need to be setup when activating the first account on V-Key Smart Authenticator. This PIN will be used for all accounts in case you have multi-accounts activated on your device.
· Device Face Biometrics: V-Key Smart Authenticator is able to use with biometric authentication supported in your device, such as Fingerprint or FaceID.
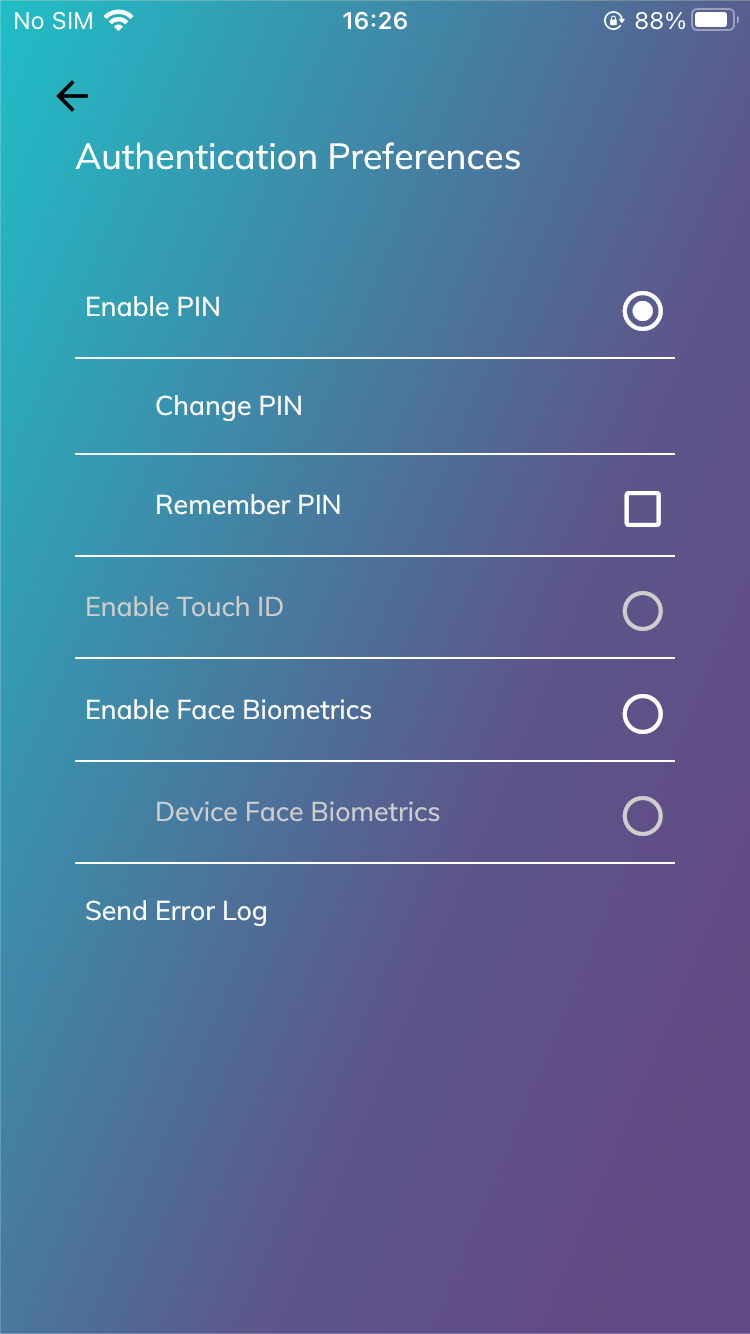
Fig 7.1: Authentication Preferences
To change the security method:
- On the Home screen, tap the desired account in ” Your recent sign-ins” section or from the My Accounts screen, tap on an account to open.
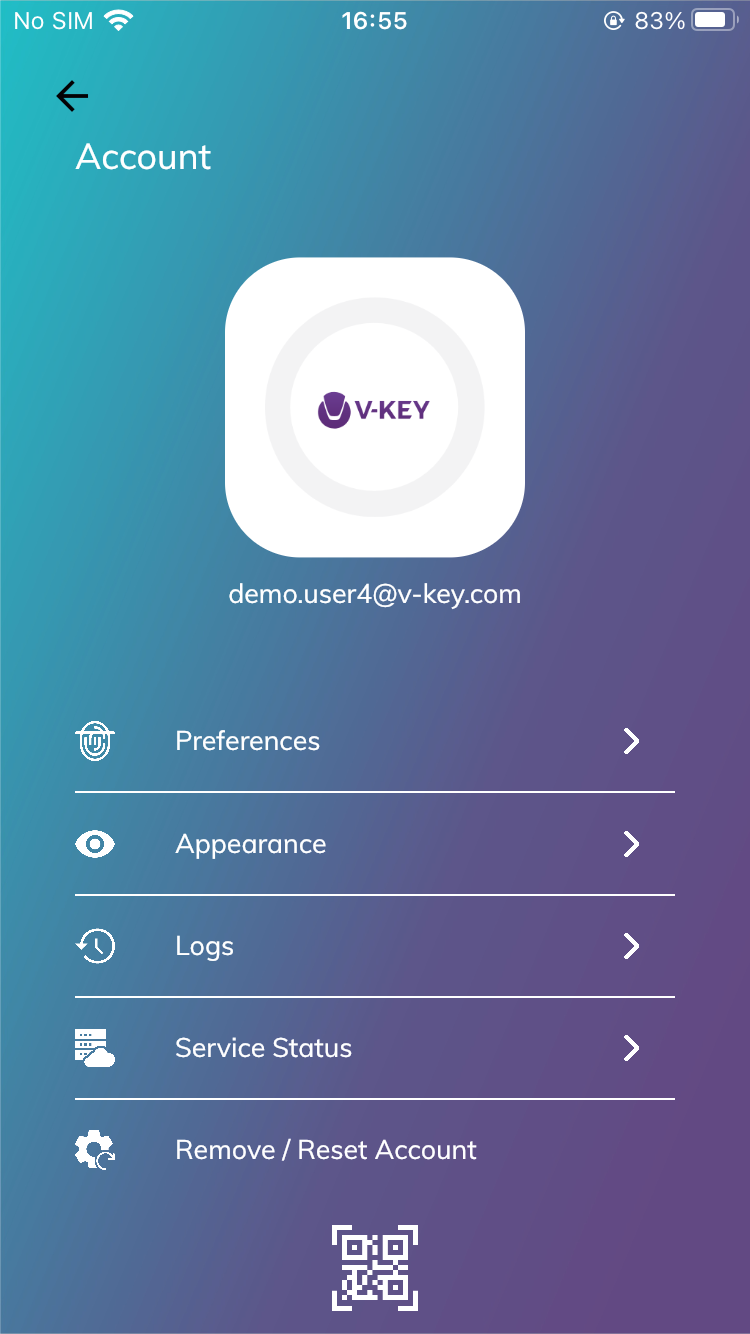
Fig 7.2: Detail Account
- Tap on the Preferences link to display the Authentication Preferences page.
Note: The Authentication Preferences page is available only AFTER you have already been onboarded to the V-Key Smart Authenticator.
- Tap on the radio button of your preferred security method, e.g., PIN, fingerprint, FaceID, TouchID, etc.
Note: The actual security methods available vary between different device models.
- Upon selecting the desired security method, a popup requesting confirmation appears. You will be required to activate the selected security method by authenticating with your existing PIN and the same security method that you wish to activate.
- After the authentication is successful, your selected security method will be active and can be used for all future authentication of the V-Key Smart Authenticator.
Changing A PIN
To change your token PIN:
- On the Authentication Preferences page, tap on Change PIN.
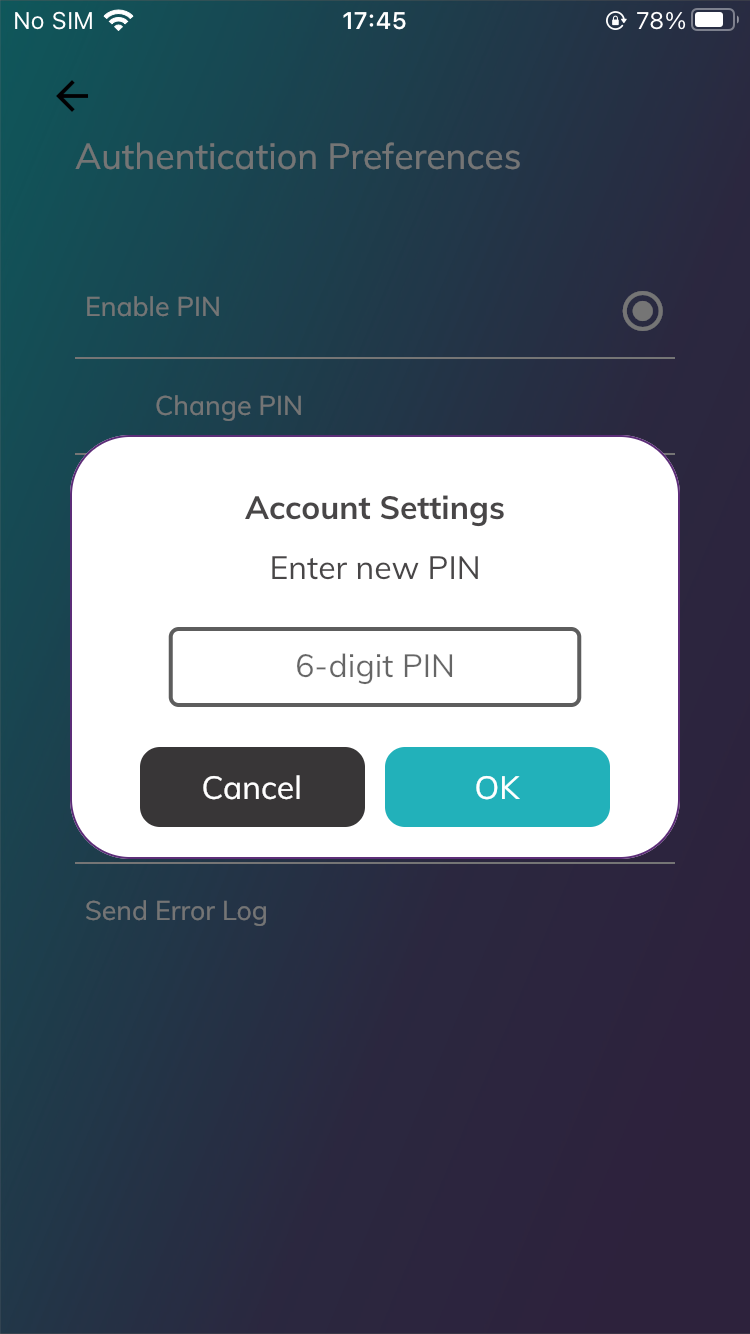
Fig 7.3: Change PIN
Note: You will need to enable PIN as your primary security method before you can change it.
- Key in your Old PIN, New PIN, and Confirm the new PIN.
- Tap OK to apply the new PIN.
Setting Up Your Recovery Email
As part of the strict security measures implemented by the V-OS Cloud team, no account is allowed to provision on multiple devices at any point in time. You must set up a recovery email so that the account reset link can be sent to your recovery email address in the event that you are unable to access your registered device.
To set the recovery email:
- Tap on the “gear” icon at the upper-right of the app home page to show the Settings page.
Note: The Settings page here is only for universal settings, for specific account settings, you can open Preferences in the details page of that particular account.
- Tap on the User Profile option on the Settings page.
- Key in your recovery email, and name, and then tap on Save Changes .
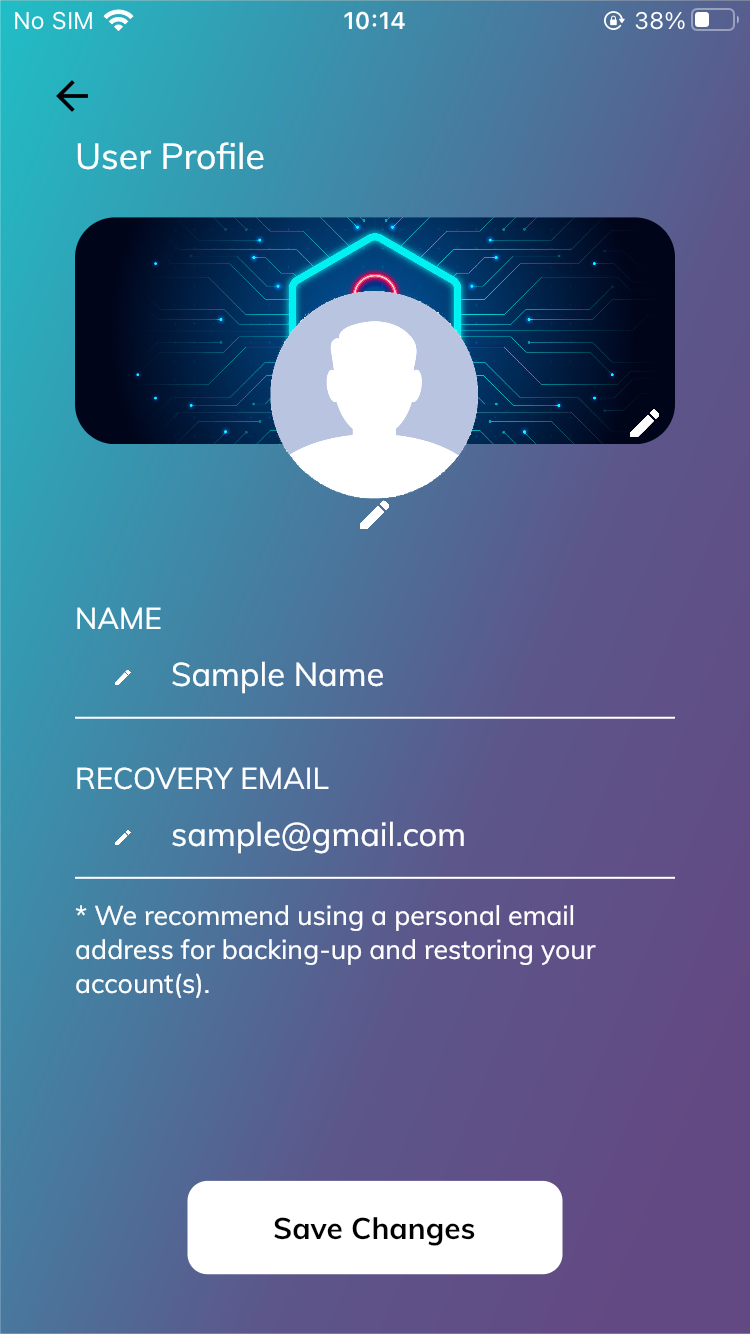
Fig 7.4: Set up Recovery Email
- An email will be sent to your recovery email. Open it and click the verification link to complete.

Fig 7.5: Verify Recovery Email
Remove An Account
Warning: This action will delete all your account information, including the smart token that you have set up previously. You will be logged out from the V-Key Smart Authenticator afterwards.
To reset your account:
- From Home or My Accounts, tap on the account you want to reset to open the account details page.
- Tap Remove /Reset Account to reset your account . The security method you had set will appear to authorize this action.
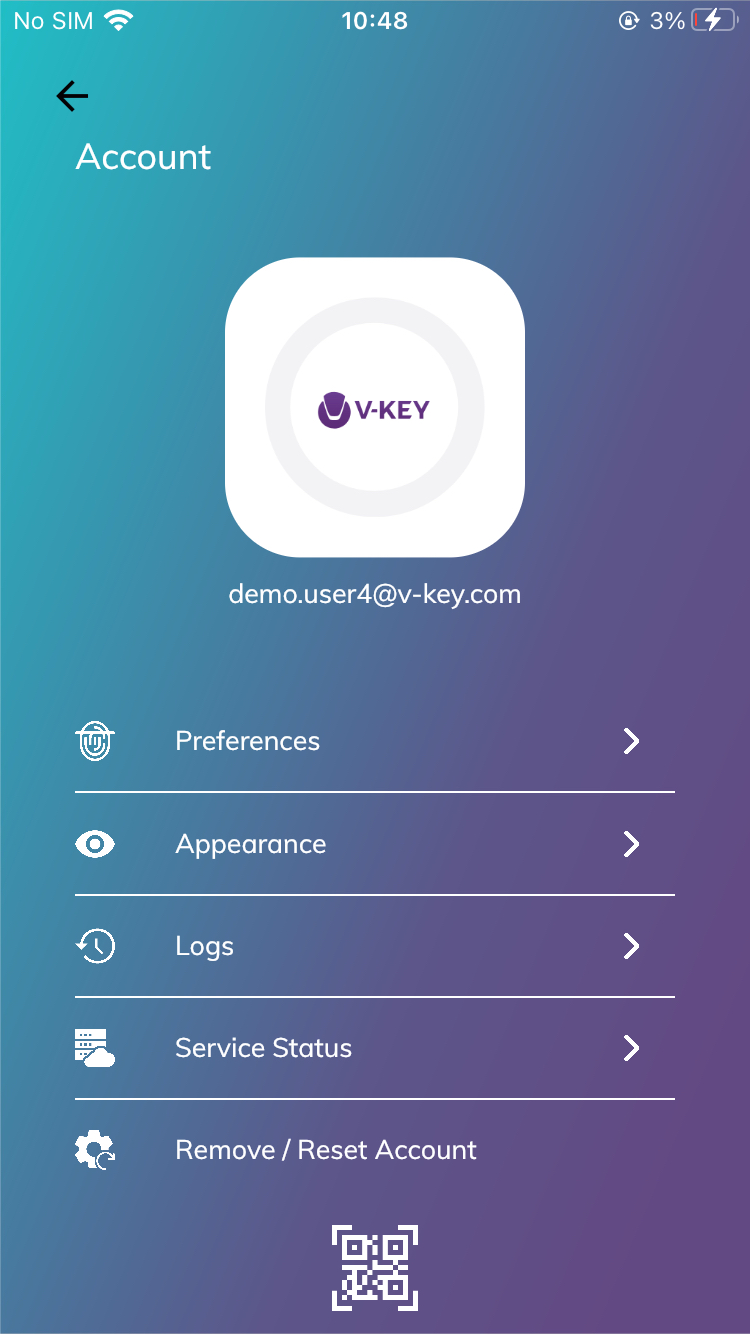
Fig 7.6: Resetting An Account
- Upon successful authorization, the V-Key Smart Authenticator will reset your account. You will then be redirected to another active account if available. Otherwise, you will be returned to the initial welcome page.
In the unfortunate event that you have lost or damaged your device and unable to perform the removal/resetting action, you will be prompted with the following error page if you try to provision your account on another device.
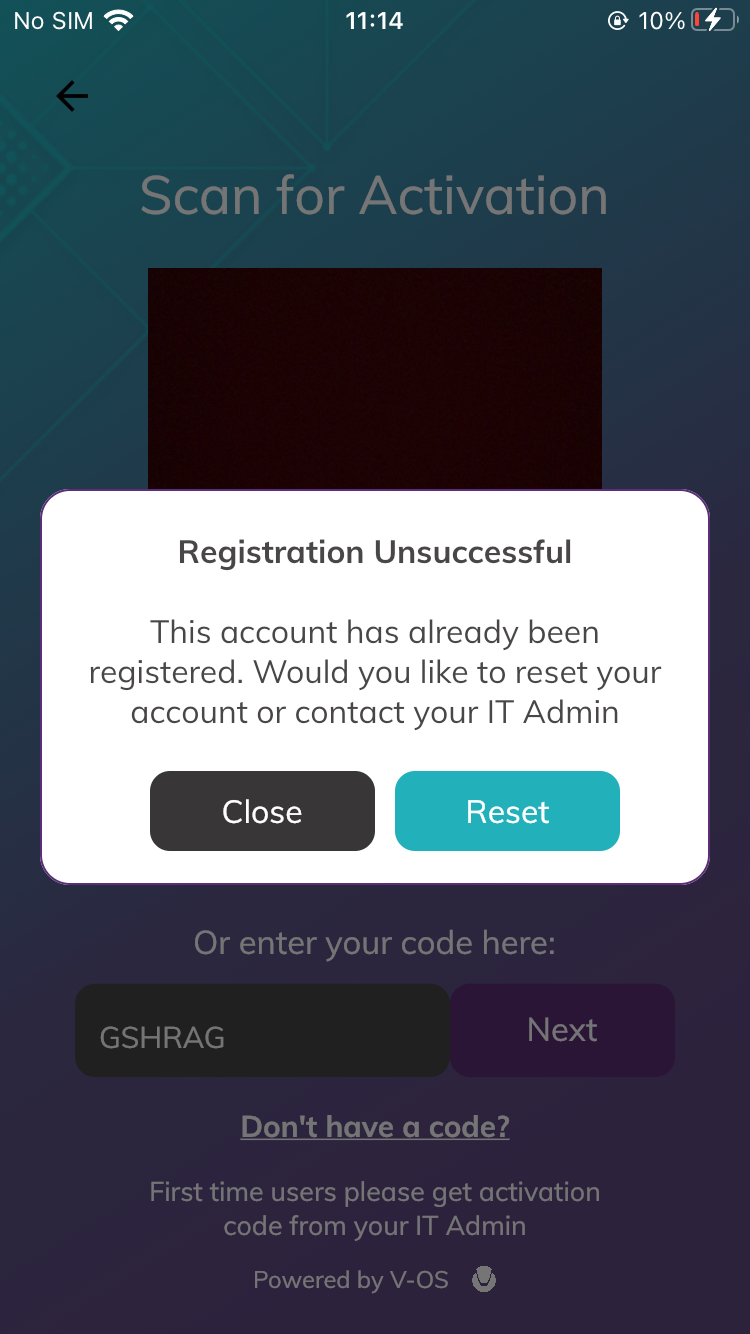
Fig 7.7: Re-Activation Failed
Note: A similar page will also be shown if you encounter other issues while using the app.
If this is the case, the following three options are available to you:
Send an account reset link to your recovery email
This option lets you send an account reset link to your recovery email. With this link, you will be able to reset your account on a previously provisioned device or provision it on another device.
Send a troubleshooting log
This option sends a troubleshooting log to V-OS App Protection Server to assist the V-OS Cloud Support team to investigate your issue.
Personalize you App’s Appearance
The V-Key Smart Authenticator allows you to add an avatar and a cover image, as well as to color- code accounts . You can also personalize your name and add a recovery email.

Fig 8.1 : Settings
Update Profile
To update your profile:
- From the Home screen, tap on the gear icon at the top-right corner to open the Settings page.
- Tap on User Profile to open .
- On the Profile page, tap on the pencil icons to change your avatar and/or cover image .
- You can personalize your name and enter a recovery email

Fig 8.2: Update Profile
- T ap on Save Changes button to save
- After saving, the updated info and/or settings will be reflected on your Home screen
Coloring Accounts
To change or create color scheme :
- On the Settings page, tap on Color Scheme
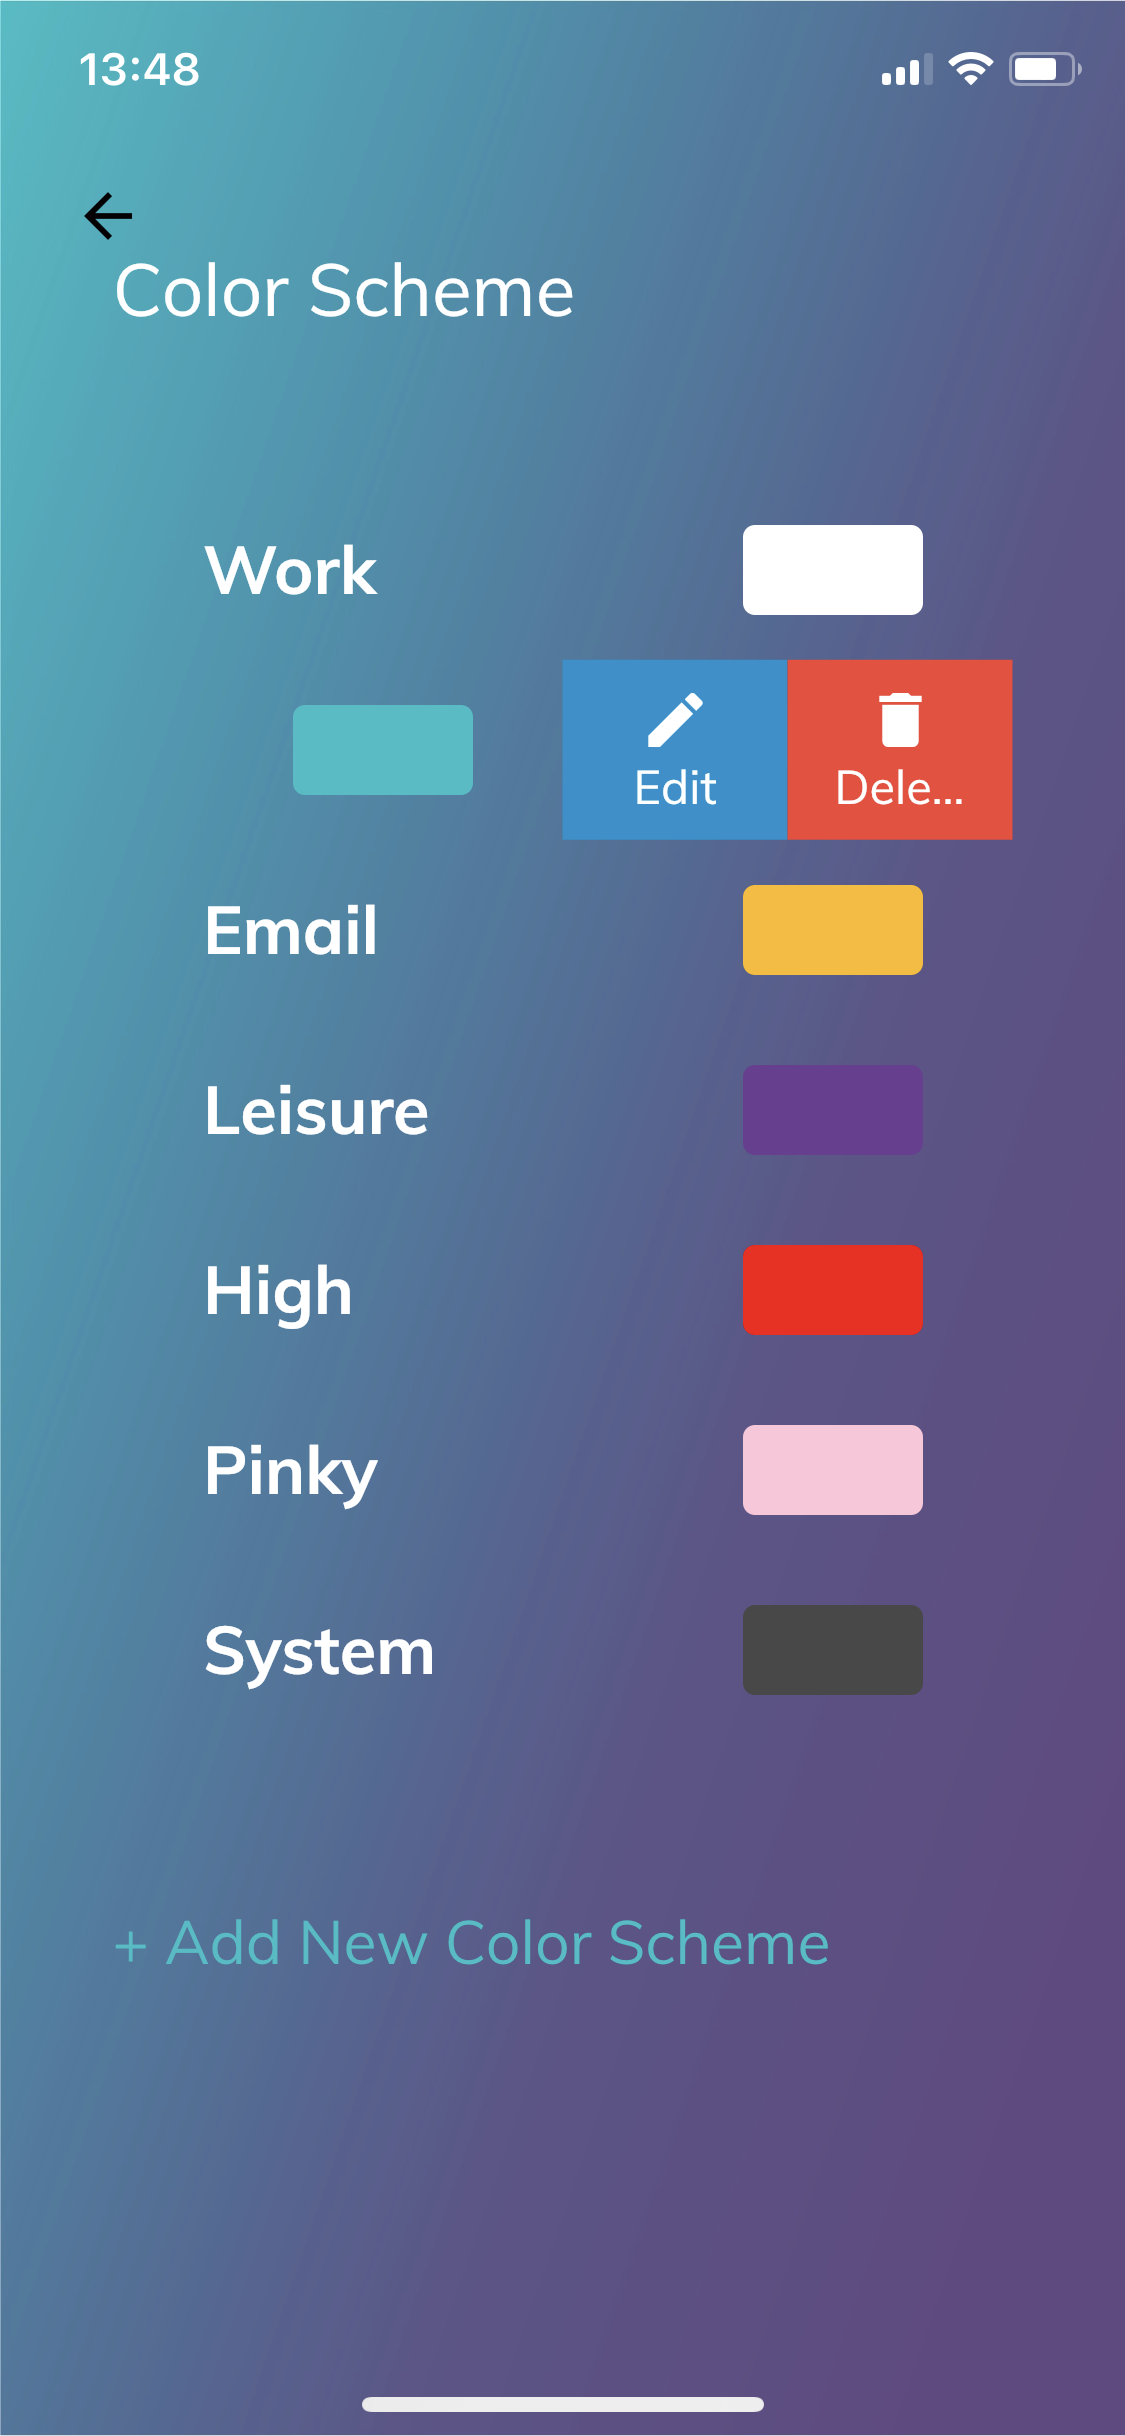
Fig 8.3 : Color Scheme
- Slide left the existing scheme to edit or tap on Add new Color Scheme to add a new category
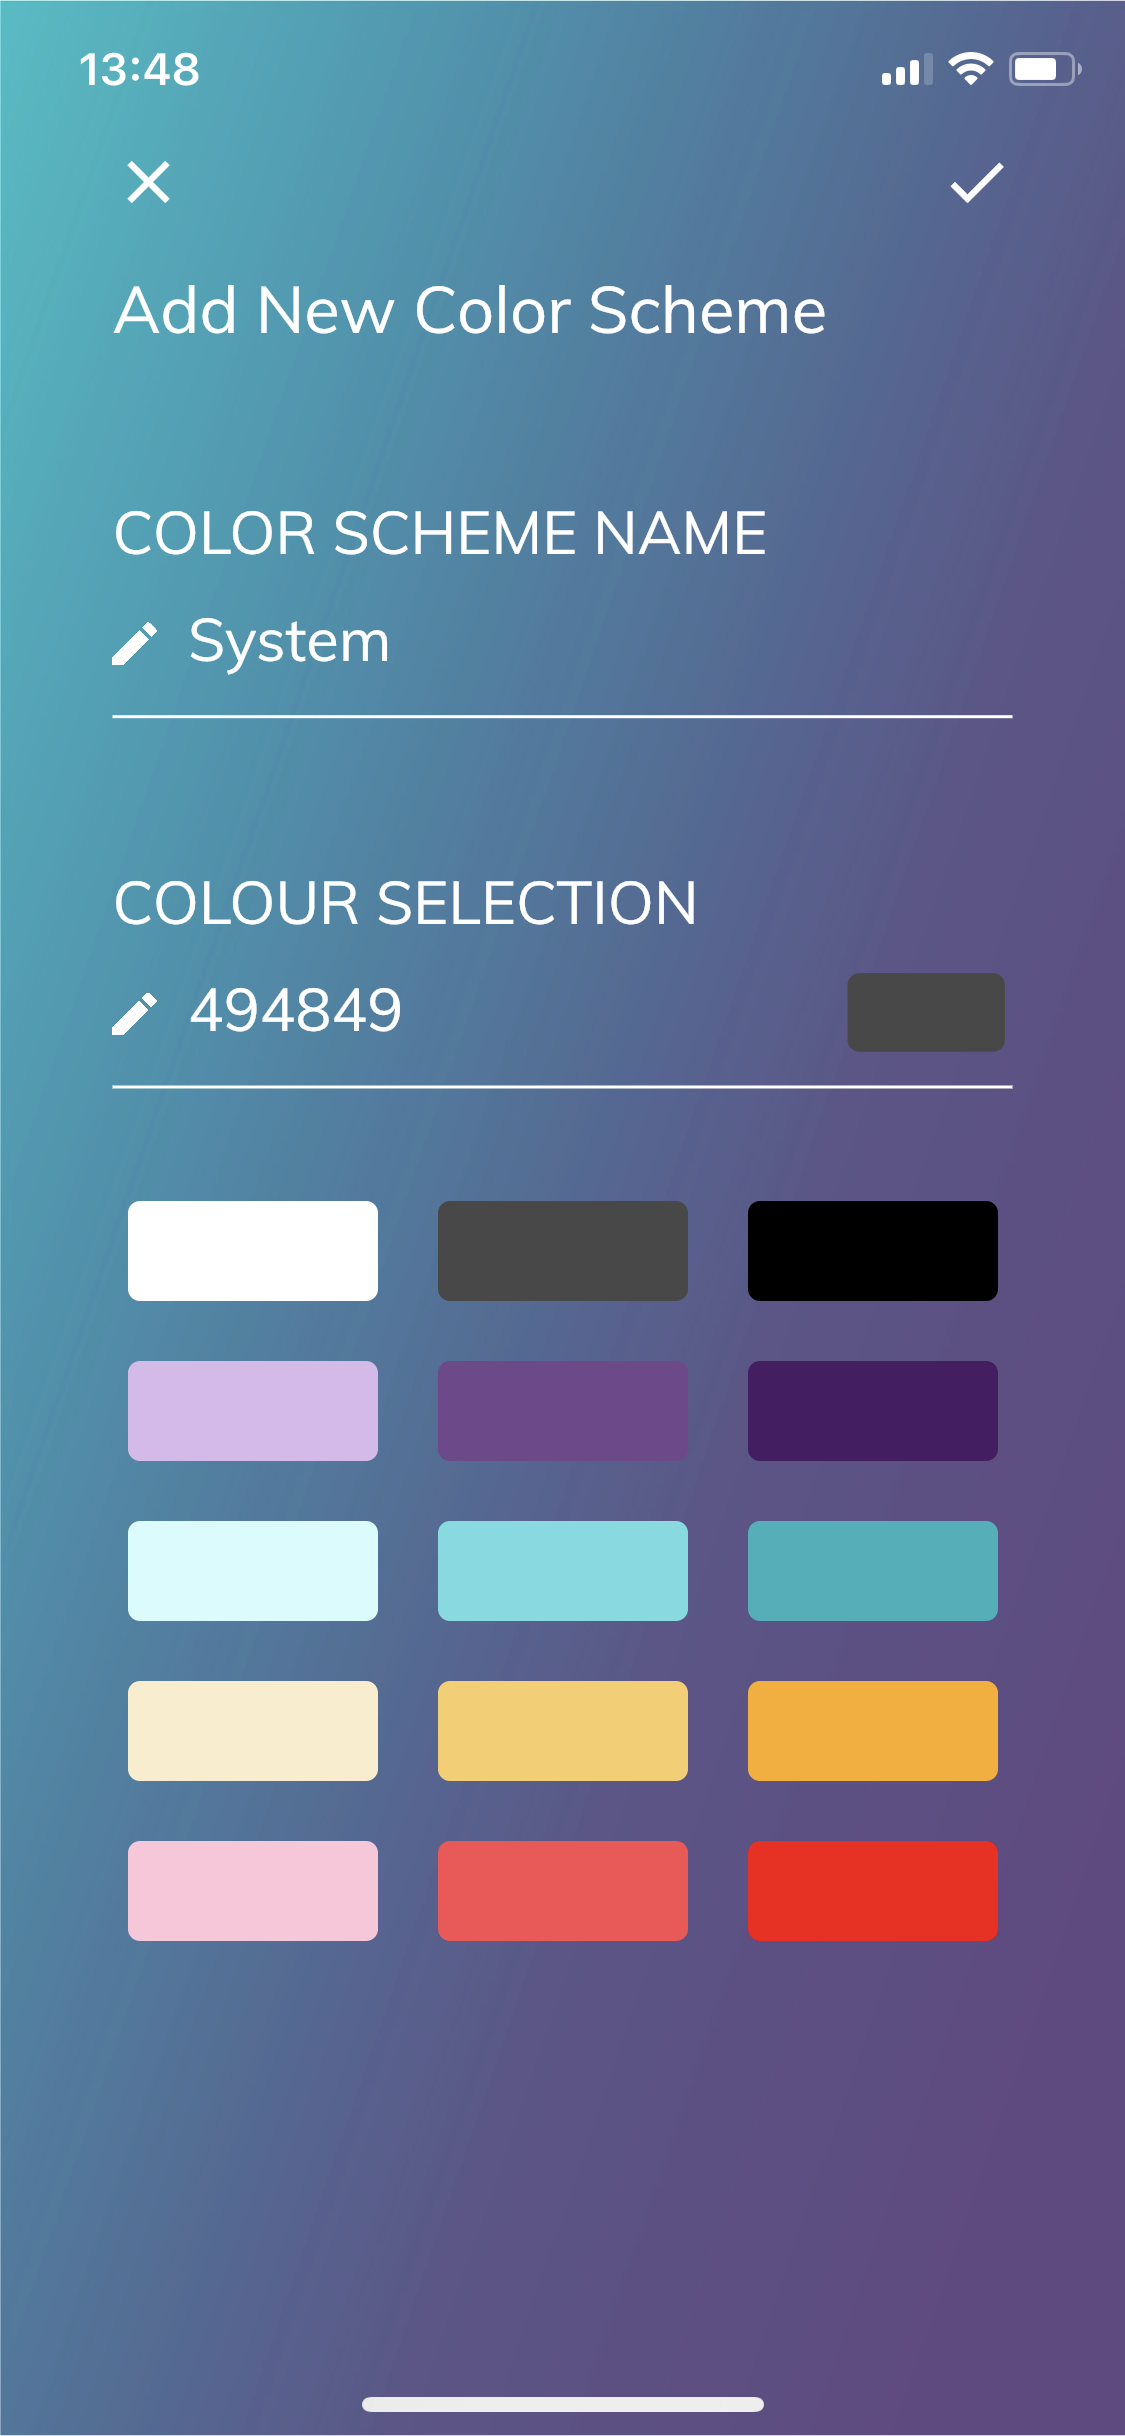
Fig 8.4 : Create New Color Scheme
To apply a Color Scheme for accounts:
- On Home page, tap to open account
- Tap on Appearance to open details

Fig 8.5: Appearance
- Tap on Change Color Scheme (Or Change Logo if you want to change the icon of account)
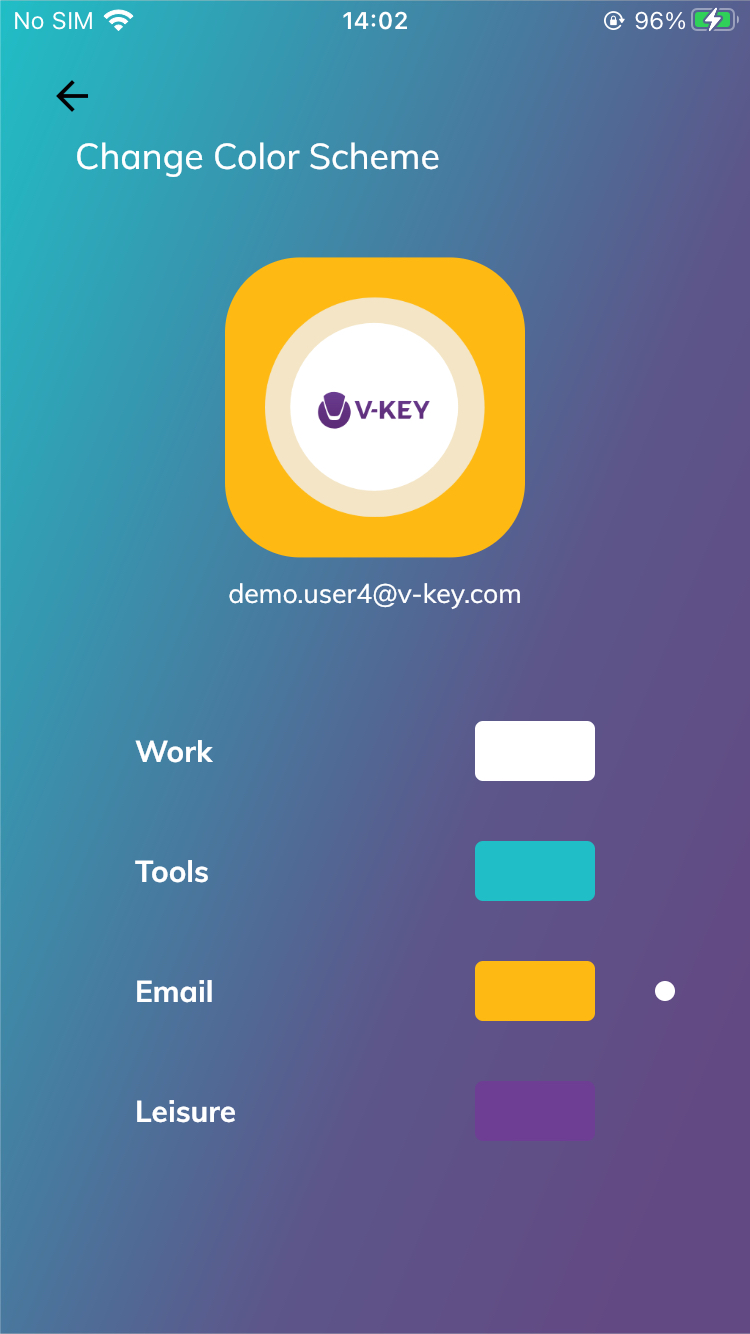
Fig 8.6: Apply Color Scheme
- Tap on the scheme you want to change
On the Home screen, the background of the selected account will be changed accordingly.
Miscellaneous Configurations
Send troubleshooting logs
This option lets you send a troubleshooting log to the V-OS App Protection Server for the V-OS Cloud team to diagnose an issue.
From your account, choose Preferences, then tap on Send Error Log
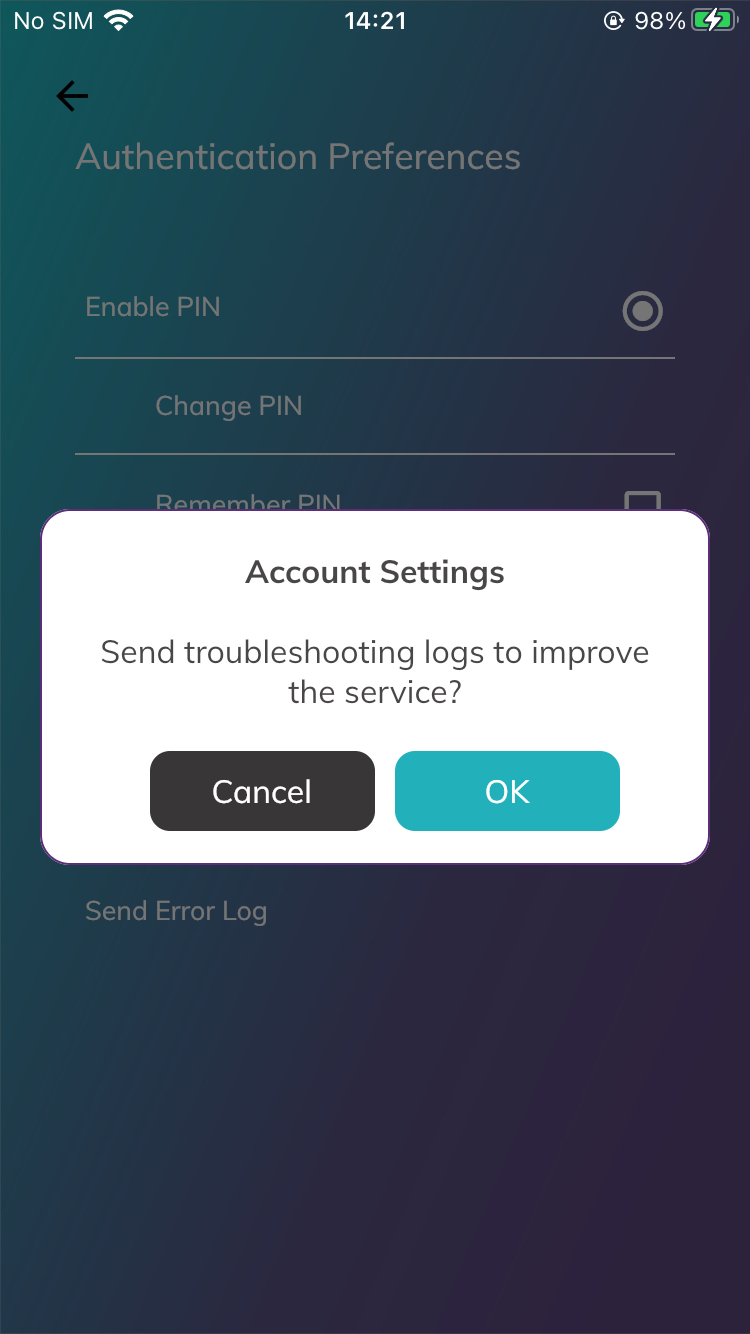
Fig 9.1: Send Error Log
History
This option shows the history page which lists the locations and dates of the services that you have authenticated.
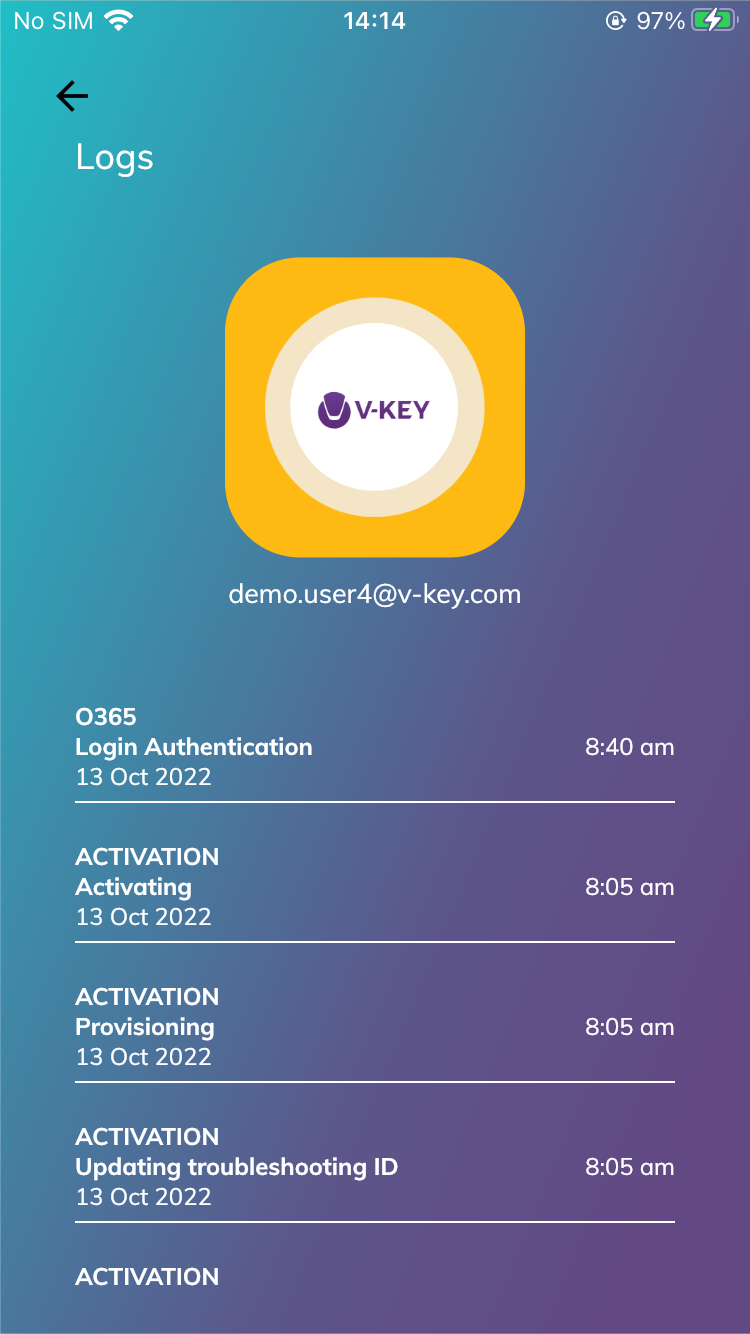
Fig 9.2: History Log
Service List
This shows the list of services that require your approvals for login.
· Services in Green are currently available and protected by V-Key Smart Authenticator.
· Services in Yellow are not currently protected by the V-Key Smart Authenticator for 2FA. If you have any questions regarding this section, please contact your systems admin.
· Services in Red are unavailable, stopped, or not yet ready.
You can check the status of each service from the Home page or the Account page.
 Or
Or 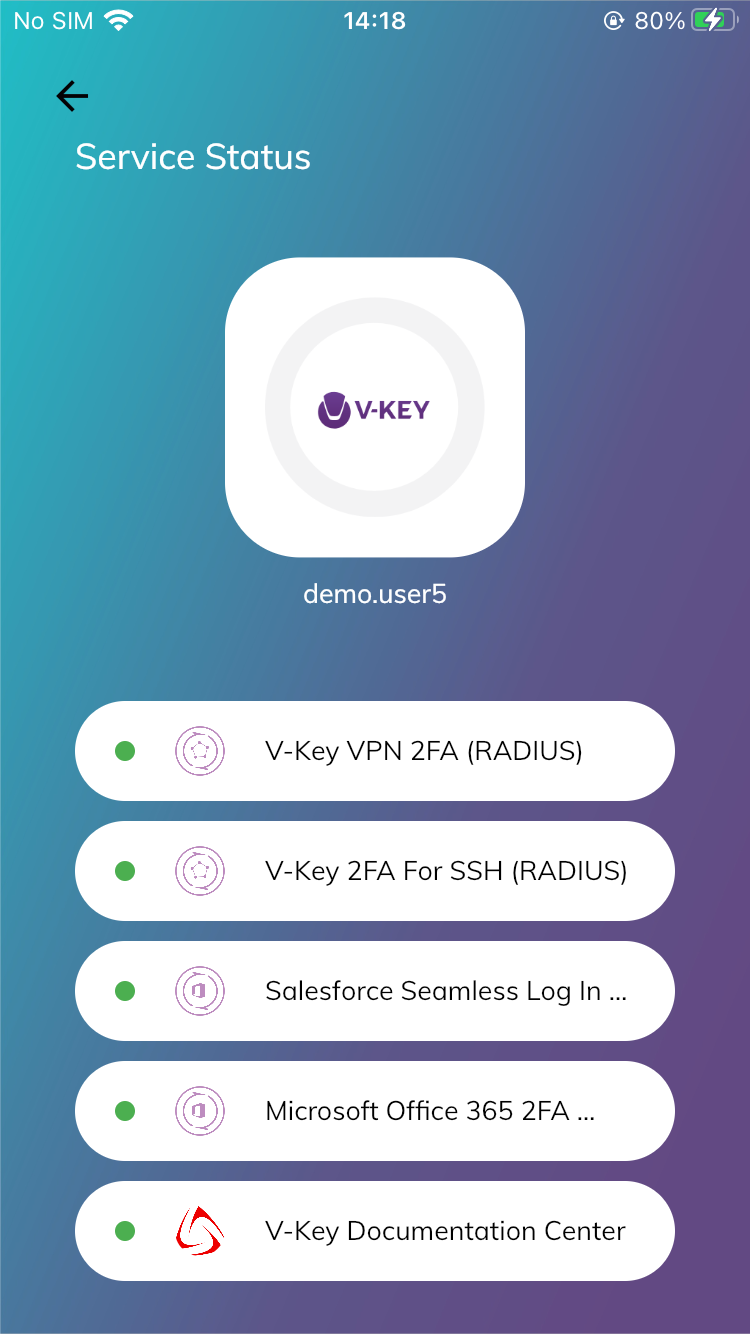
Fig 9.3: Services List